
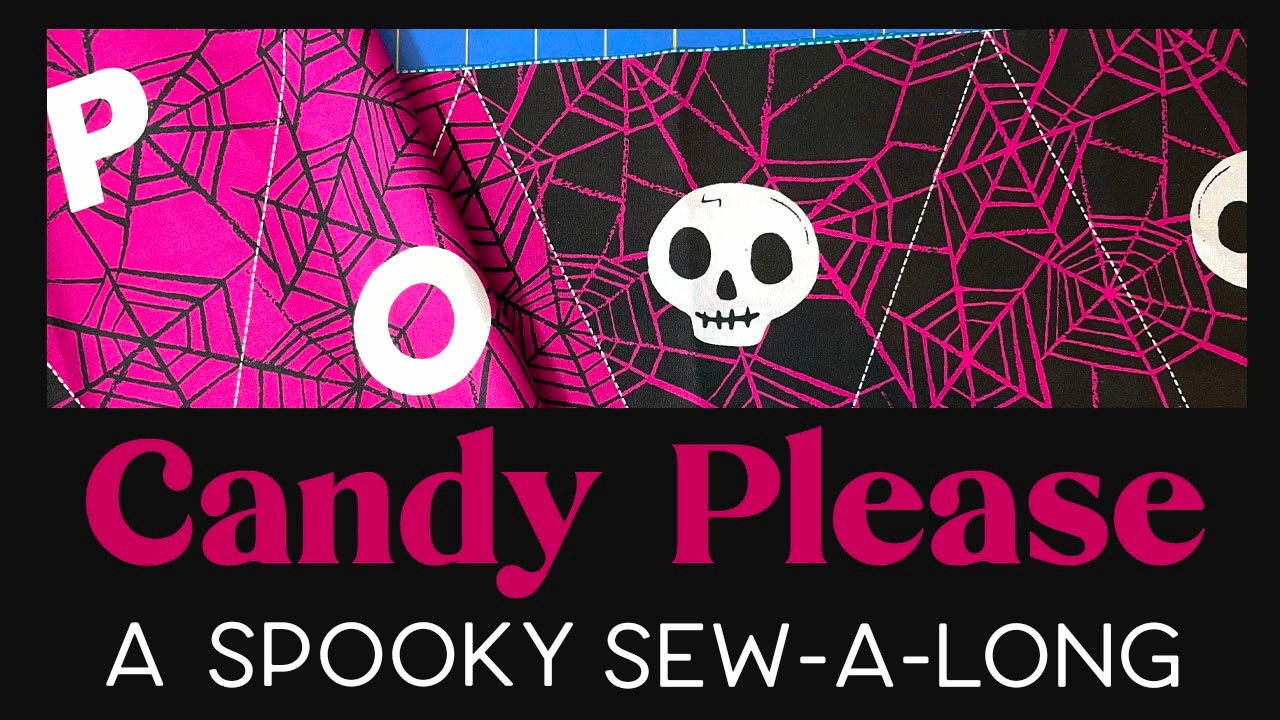
Spooky Sewalong Part II: Happy Halloween Bunting!
Guest written by Jane Youn
Welcome to our Candy Please! Spooky Sewalong Part II: The Bunting-ning. Okay I'm obviously still working on that title. Anyway, we are going to have a great time sewing up the Happy Halloween Bunting today! You can find the Candy Please! Project Panel at fine retailers of Moda Fabrics nationwide. For today's steps we're going to need the following supplies:
- The 17x Pennant Triangles and their corresponding backing pieces that we cut out last time
- About a 1/2 yd coordinating fabric for binding
- A 25mm Bias Tape Maker
- OR Premade Doublefold Bias Tape for Bunting
- Sewing Supplies! You know, scissors, thread, pins or clips, a sewing machine, all the classics.
- A snack of your choice
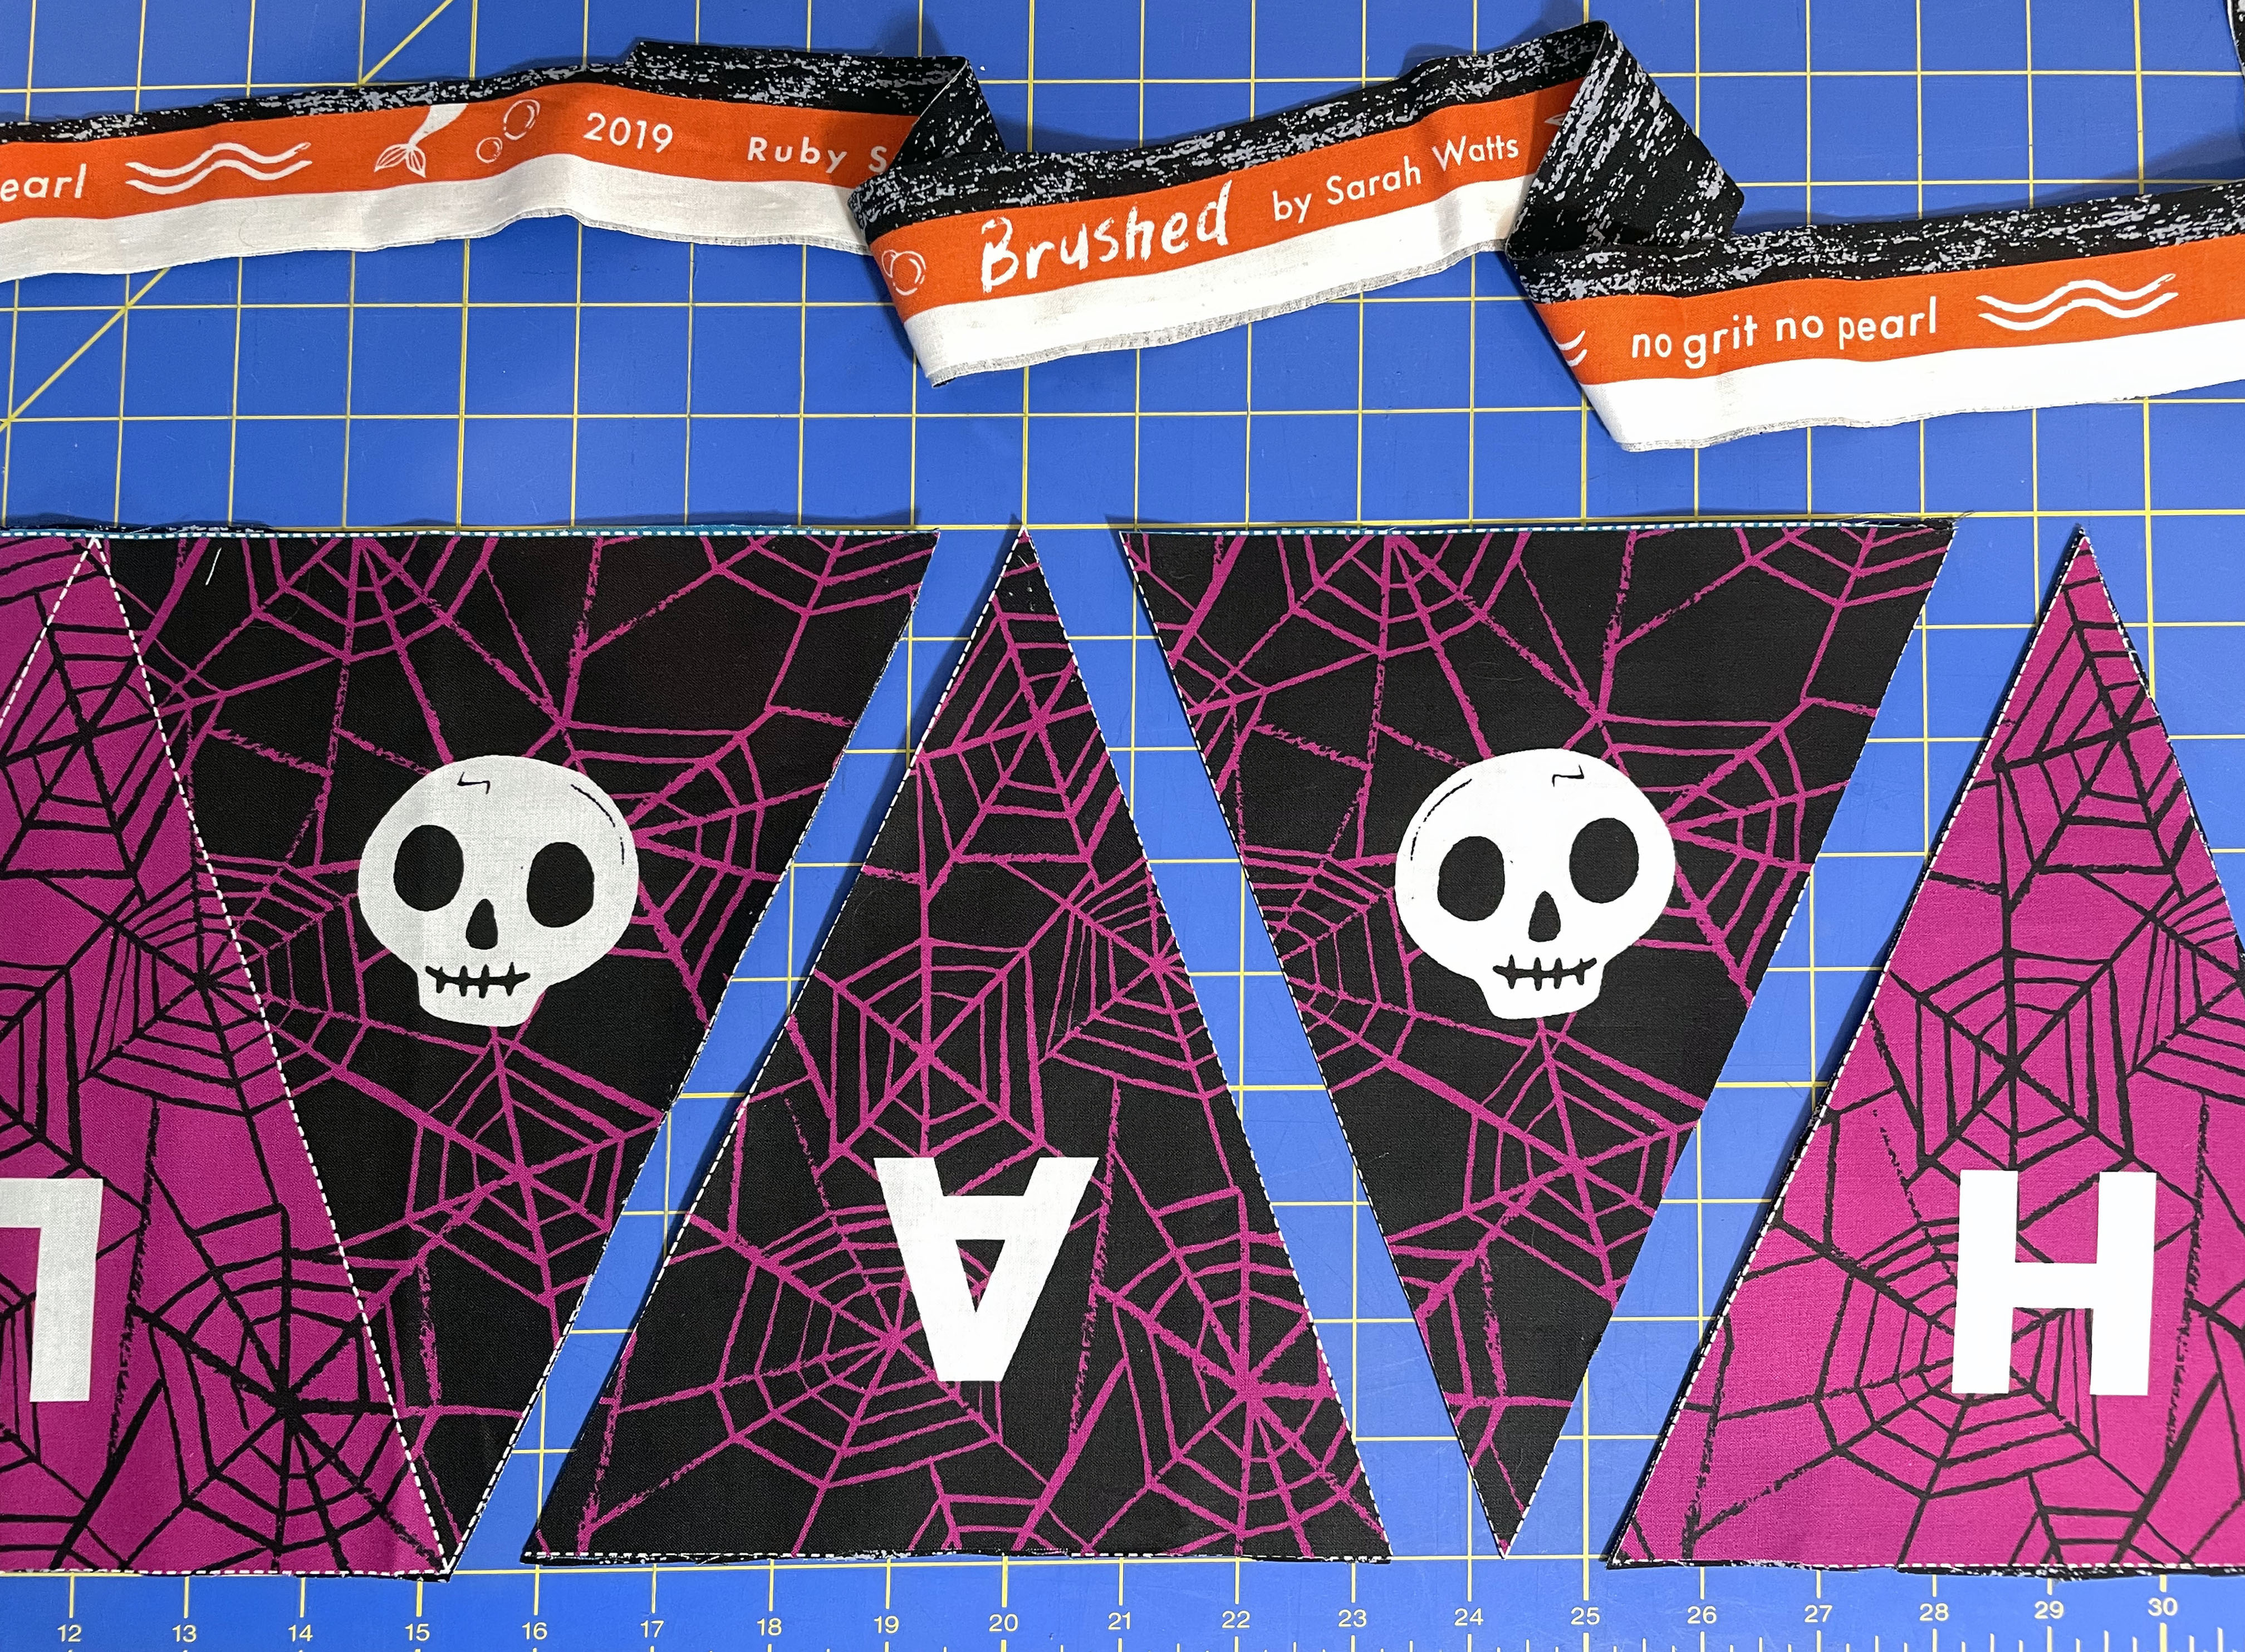
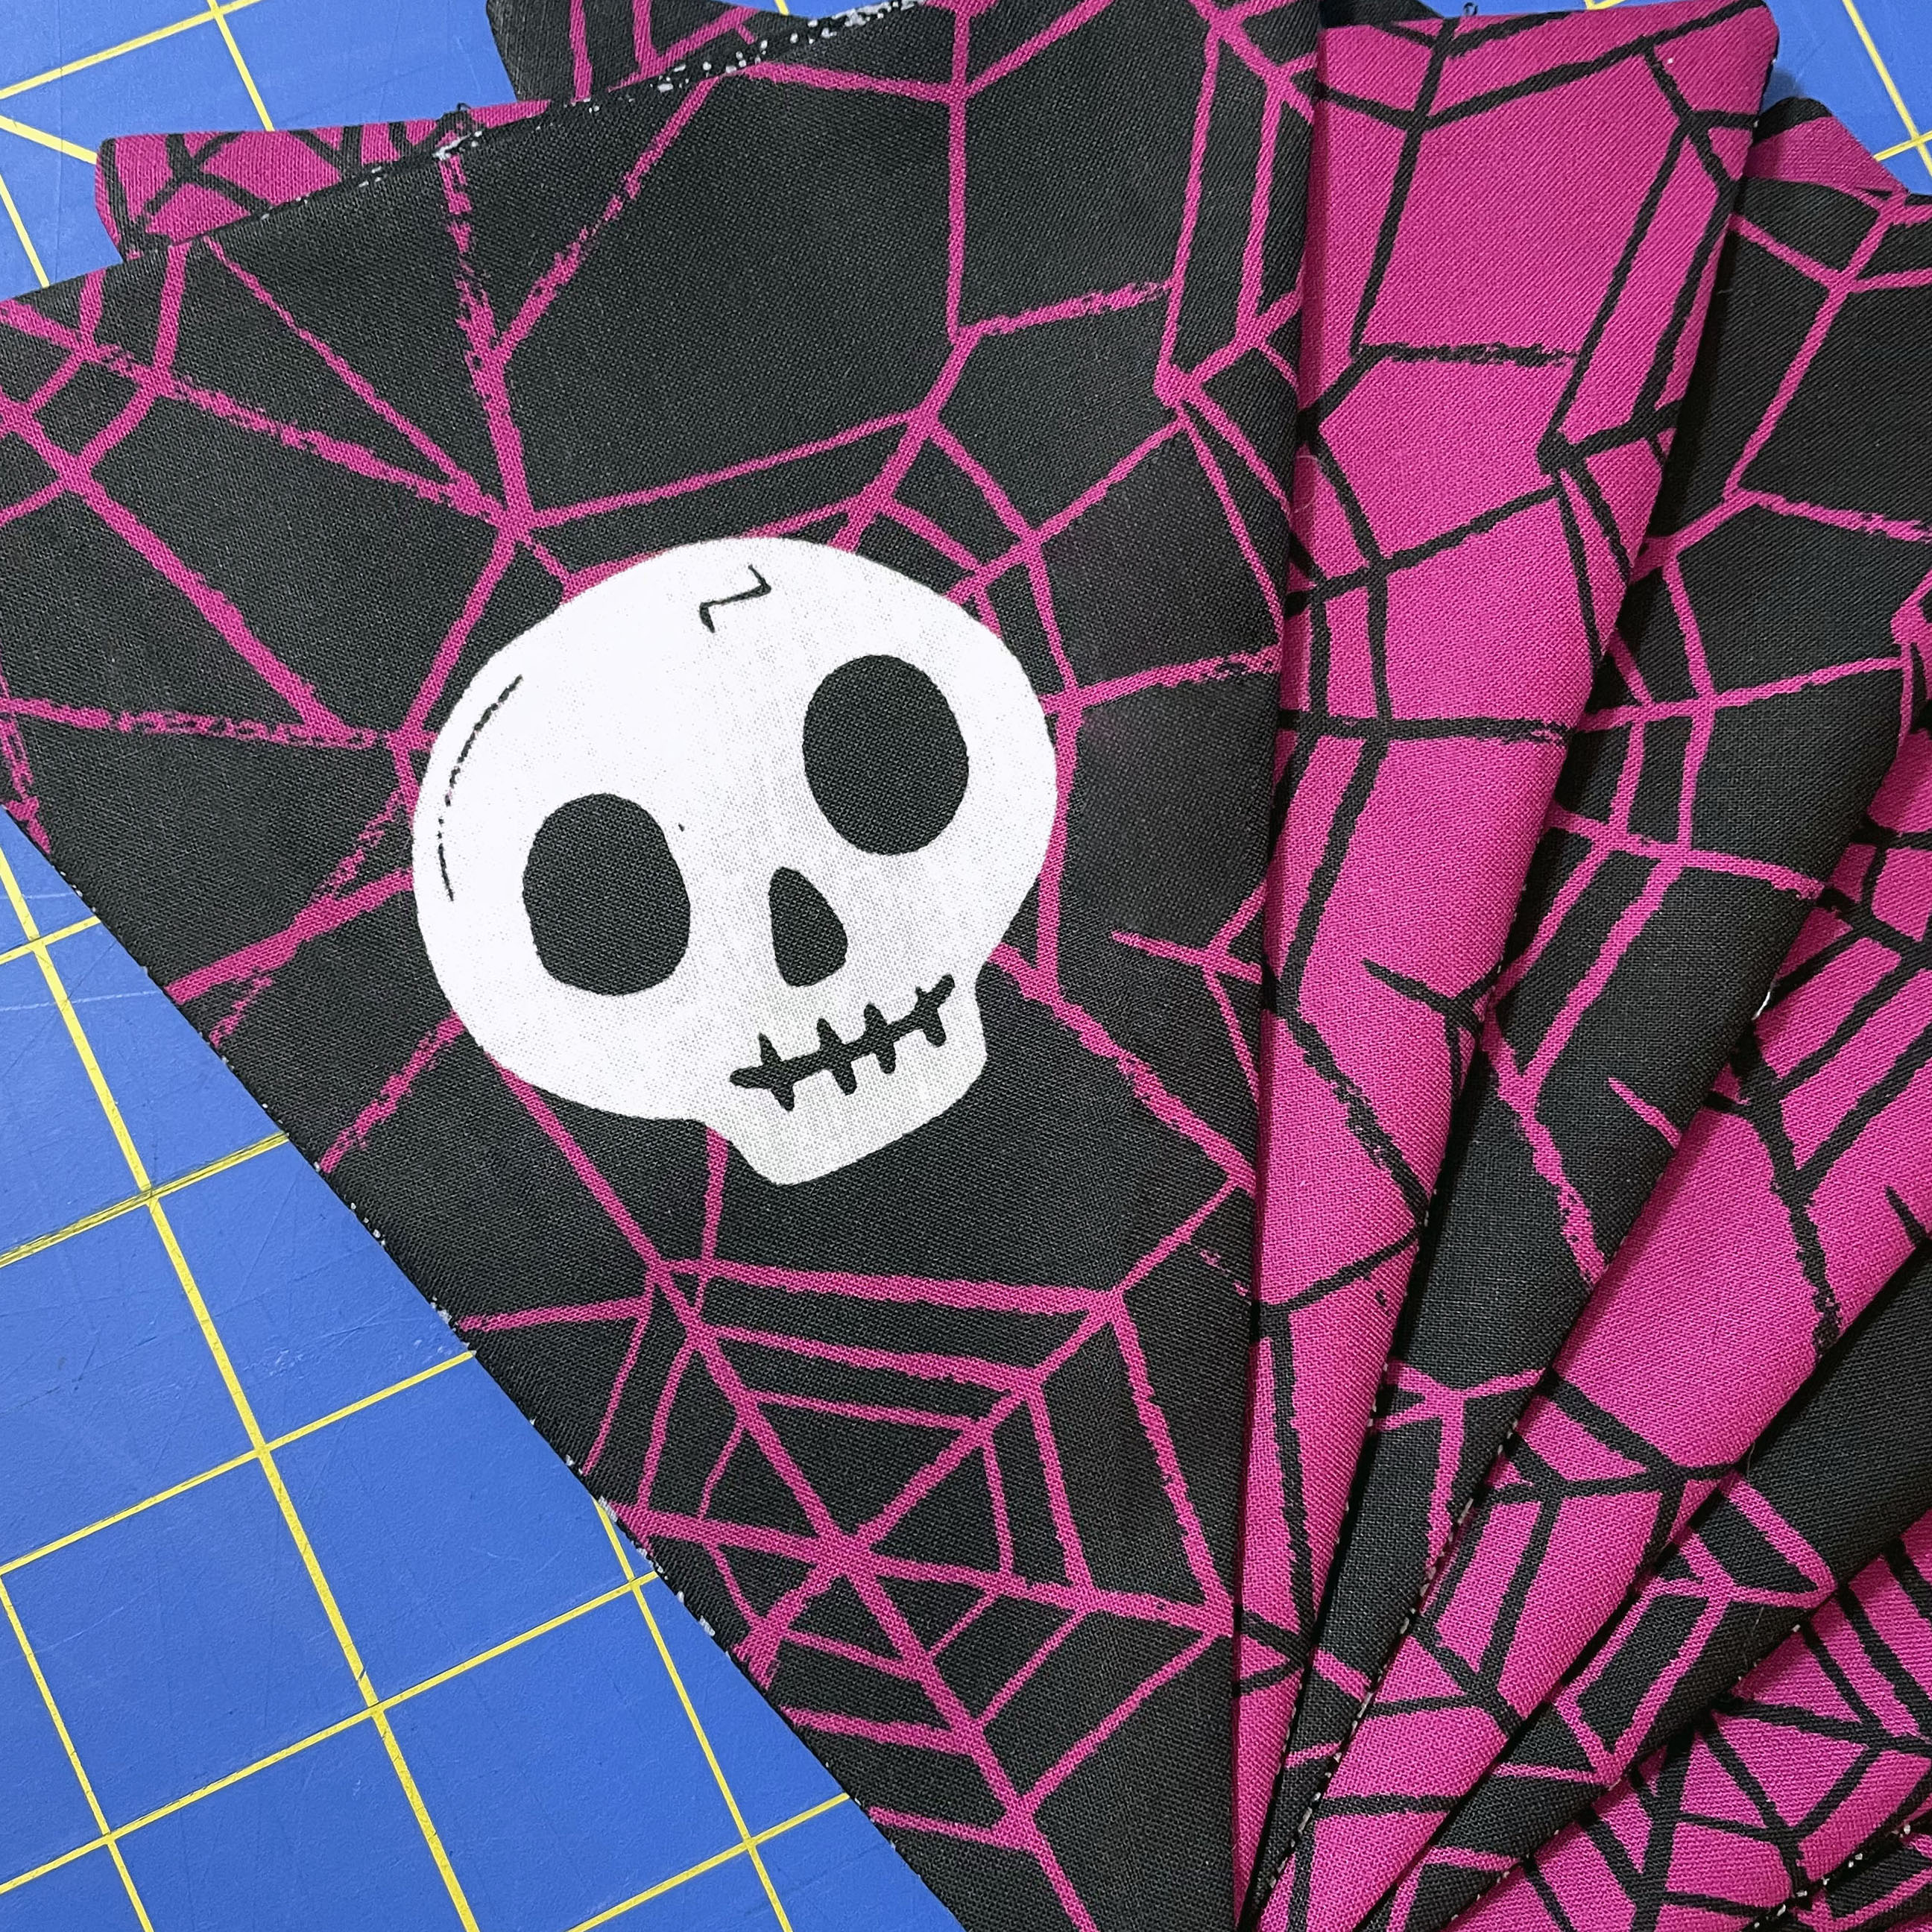
So last week we left off at cutting out our 17 pennant triangles and our 17 backing triangles. Next, we're going to sew them up! Take one triangle and one backing piece and place them right sides together (RST). With a ¼” seam allowance, stitch along the two long edges only. This will leave a gap along the short edge that you can turn through. As you turn them all right sides out again, press them so they lay nice and flat. Optionally, you can topstitch ⅛” from the long edges. Make sure to stop for snack and water breaks along the way, because 17 triangles is a workout!
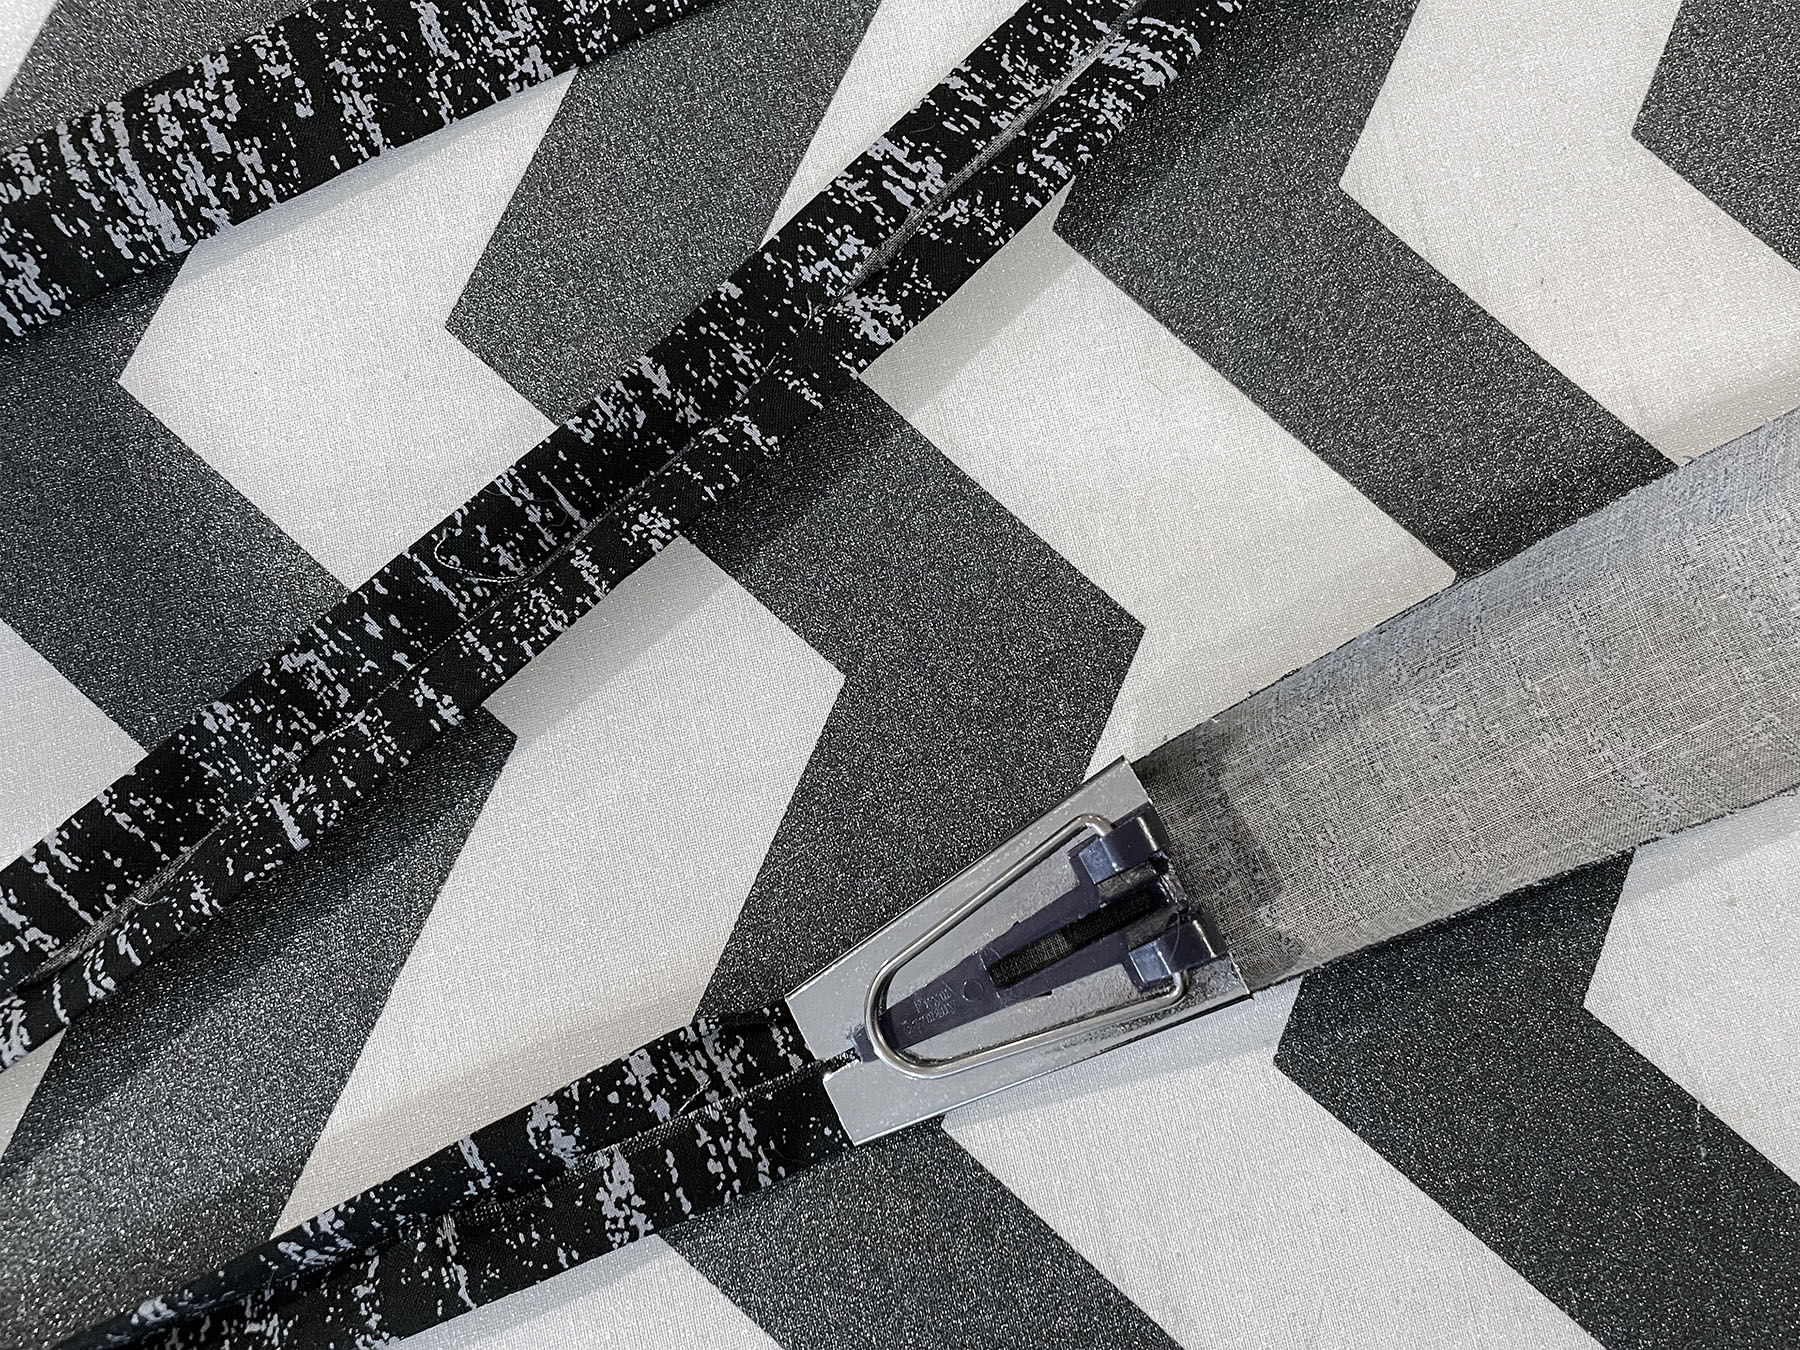
You can absolutely use premade double fold bias tape for this project, but I made my own to match by cutting 2 ¼” wide strips from the entire remainder of the backing fabric that we used for the triangles. I stitched the short ends of the strips all together (RST at ¼" seam allowance) to form one long mega-strip. Then I fed the entire length through my handy bias tape maker. As the tape emerges from the skinny side of the bias tape maker, the long raw edges will be pressed towards the center. Go ahead and follow along with your iron and really set those folds. Then when you've completed the whole strip, fold it in half one more time, lengthwise, and press to contain the raw edges.
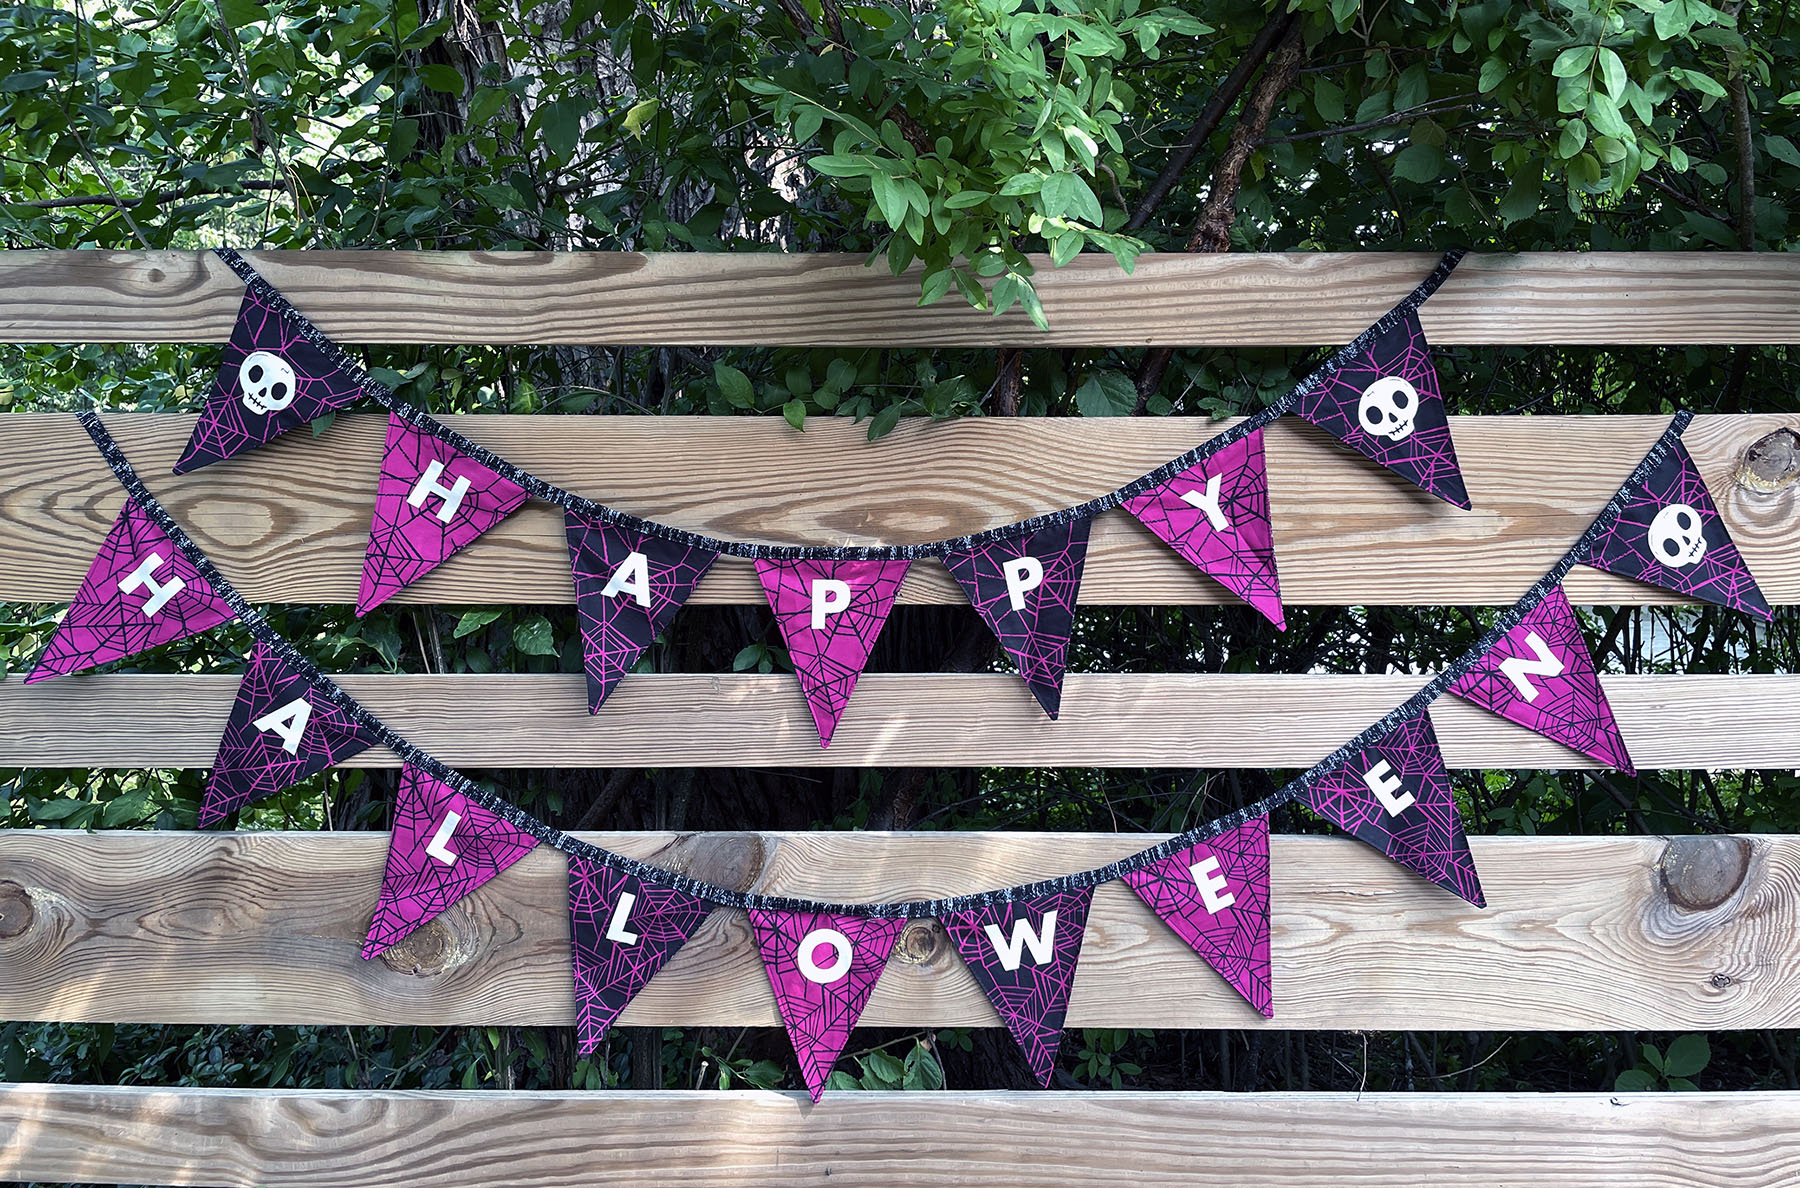
I made about 4 yds of binding, but you might want more or less depending on how you want to space out your letters. The instructions on the panel have you do the whole Happy Halloween phrase as one long strip, but you can really play around with this part however you like! I decided to have two strips, one saying "Happy" and one saying "Halloween" so when I hang them the words will stack. I spaced each triangle about an inch apart from each other. Make sure to leave at least 5-6" on the ends of your binding for hanging!

Once you have a layout decided on, pin or clip all the triangles sandwiched into the double fold tape. Double check spelling and that everything's facing the right way (ask me how I know). Then take a big breath because you're almost there. Stitch down the length, close to the open edges of the binding. I did mine at ⅛”. Now the short, raw edges of the triangles and the raw edges of the binding are all contained and hidden! Repeat the process if you're doing more than one bunting. Voila! You now have a spooky pennant, ready to hang! Mine will be decorating my haunted patio for a Halloween bonfire!
Wanna share your own spooky sewalong pics with us? Use the hashtag #candypleaseSAL on Instagram! Next time we’ll be tackling some spooky softies! See you soon!
Jane Youn is an artist, artisan, and adjunct Professor of Sewing here at the School for Misfit Makers. She lives in the Mitten State, and loves spooky things, cats, snacks, and crafts. You can follow her @janeyouniverse on Instagram.

News
Welcome to our blog. Here you will find current happenings and helpful resources. The blog is written by The Elder Cat, our resident grump who is jaded from living for over 300 years. Nonetheless, she is loved and knows many things. -Sarah Watts
Recent Posts
