
Spooky Sewalong Part I: Let's Carve Up This Panel!
Guest written by Jane Youn. Jane is an artist, artisan, and adjunct Professor of Sewing here at the School for Misfit Makers. She loves spooky things, cats, snacks, and crafts. You can follow her @janeyouniverse on Instagram.
Boo! The BEST time of the year has almost arrived! If you don't know, October is our favorite month here at the School for Misfit Makers, because it's the spookiest season! And this year Sarah thought it would be fun to get into the spirit early and do a Sewalong Spooktacular with her Ruby Star Society Candy Please project panel! Over the next few weeks we'll be tackling each project one by one: a super fun Halloween Bunting, Spooky Softies, and the Countdown Calendar (to mark the best month of the year). Who knows, there might even be some tricks or treats along the way. This first week we’re going to choose fabric and also cut everything out from the panel before we get started! 
For all of these projects you're going to need the Candy Please Project Panel by Sarah Watts. If you don't have one yet, check in with your favorite suppliers of Moda fabrics! All of these projects are also going to need backings and bindings. Here's a quick list of helpful supplies:
- Candy Please Project Panel
- 1 yd coordinating fabric for Bunting
- Doublefold Bias Tape for Bunting
- 1 yd coordinating fabric for Softies and other Details
- 1 yd coordinating fabric for Calendar
- Batting for Countdown Calendar
- Sewing Supplies! You know, scissors, thread, pins or clips, a sewing machine, all the classics.
- Cute prizes to stuff your completed Calendar with!

I'll be using coordinating Sarah Watts fabrics from Ruby Star Society (I mean, they already match!). The Halloween Bunting will be backed and bound using Brushed in Black. The Spooky Stuffies will be backed with a selection of the Candy Please Bats and Webs Panel, and the Countdown Calendar will be backed and bound using Brushed in Peacock.
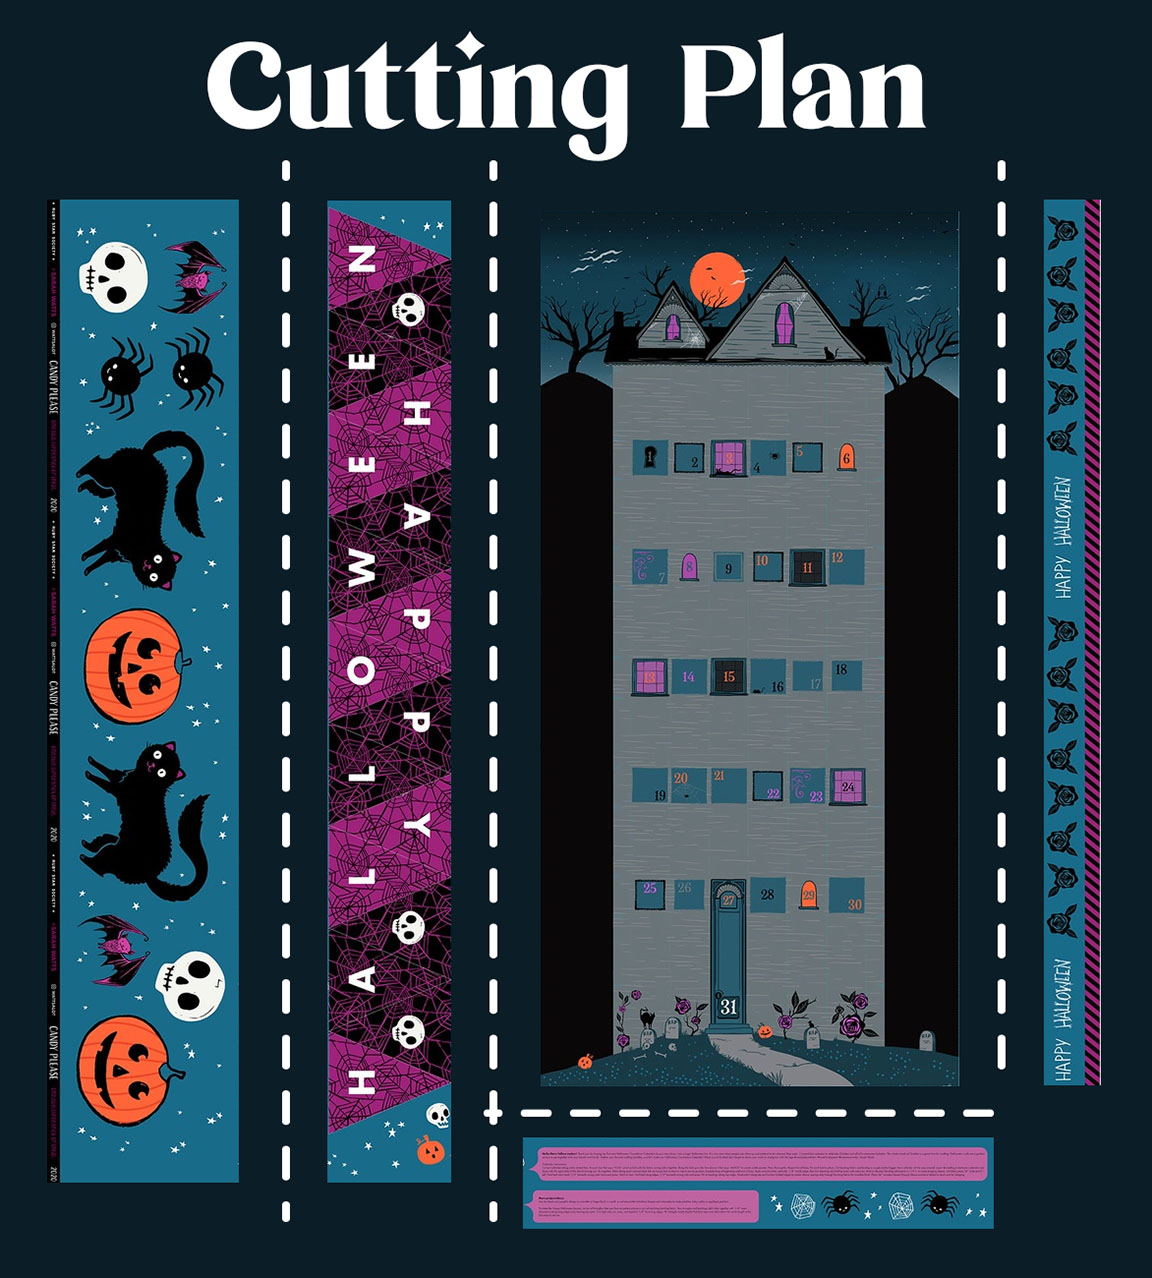
Alright, here's the plan! There's three main areas of the panel to cut out, from left to right they are: the cute Halloween shapes for Spooky Softies, the Bunting pennants strip, and the Countdown Calendar. Make sure not to cut up the instructions along the bottom! I also want to save that strip along the right side. Wouldn't it be cute as handles for a Trick or Treat bag?
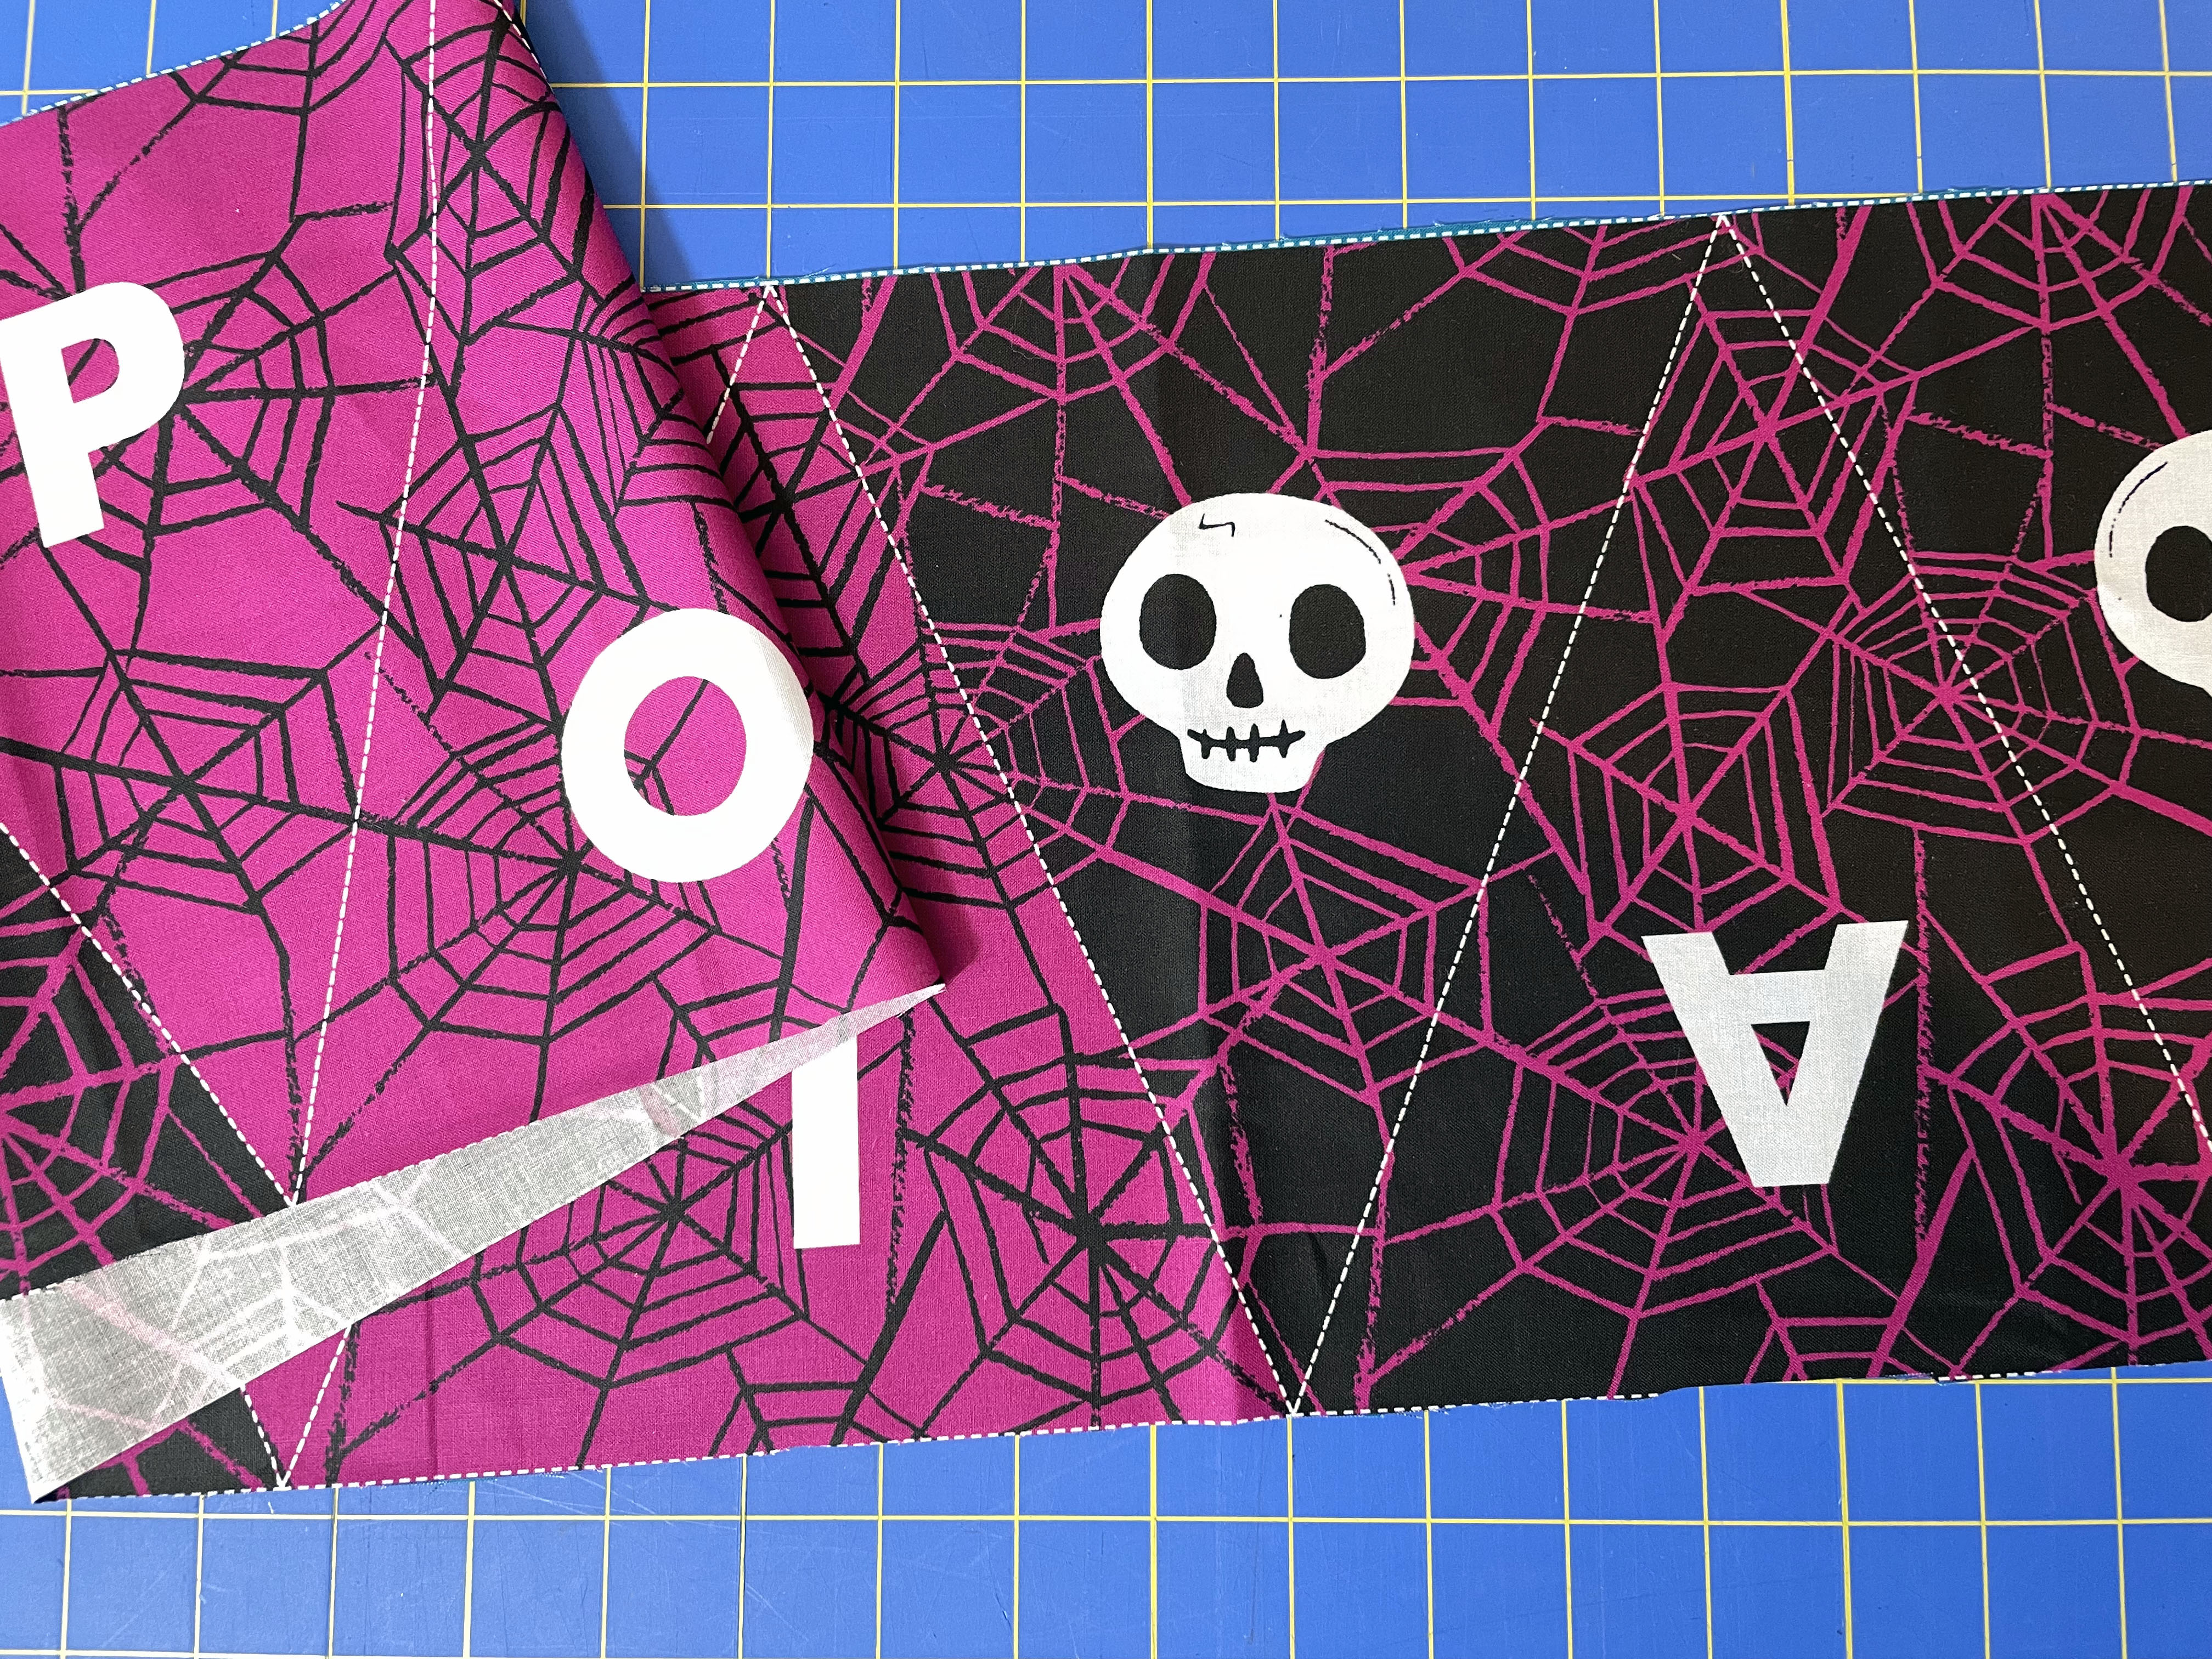
Let's fold up the Haunted House Panel and the strip with all the Softie shapes for now. I like to store everything in a project bag to protect it from the elements (my three inquisitive cats, haha). But we can go ahead and get started carving up the elements for the Happy Halloween Bunting today. To save time, you can cut the backing and the pieces all at once. Don’t cut apart the individual triangles from your pennants piece first, but instead layer them as one whole strip over top of your folded backing fabric. 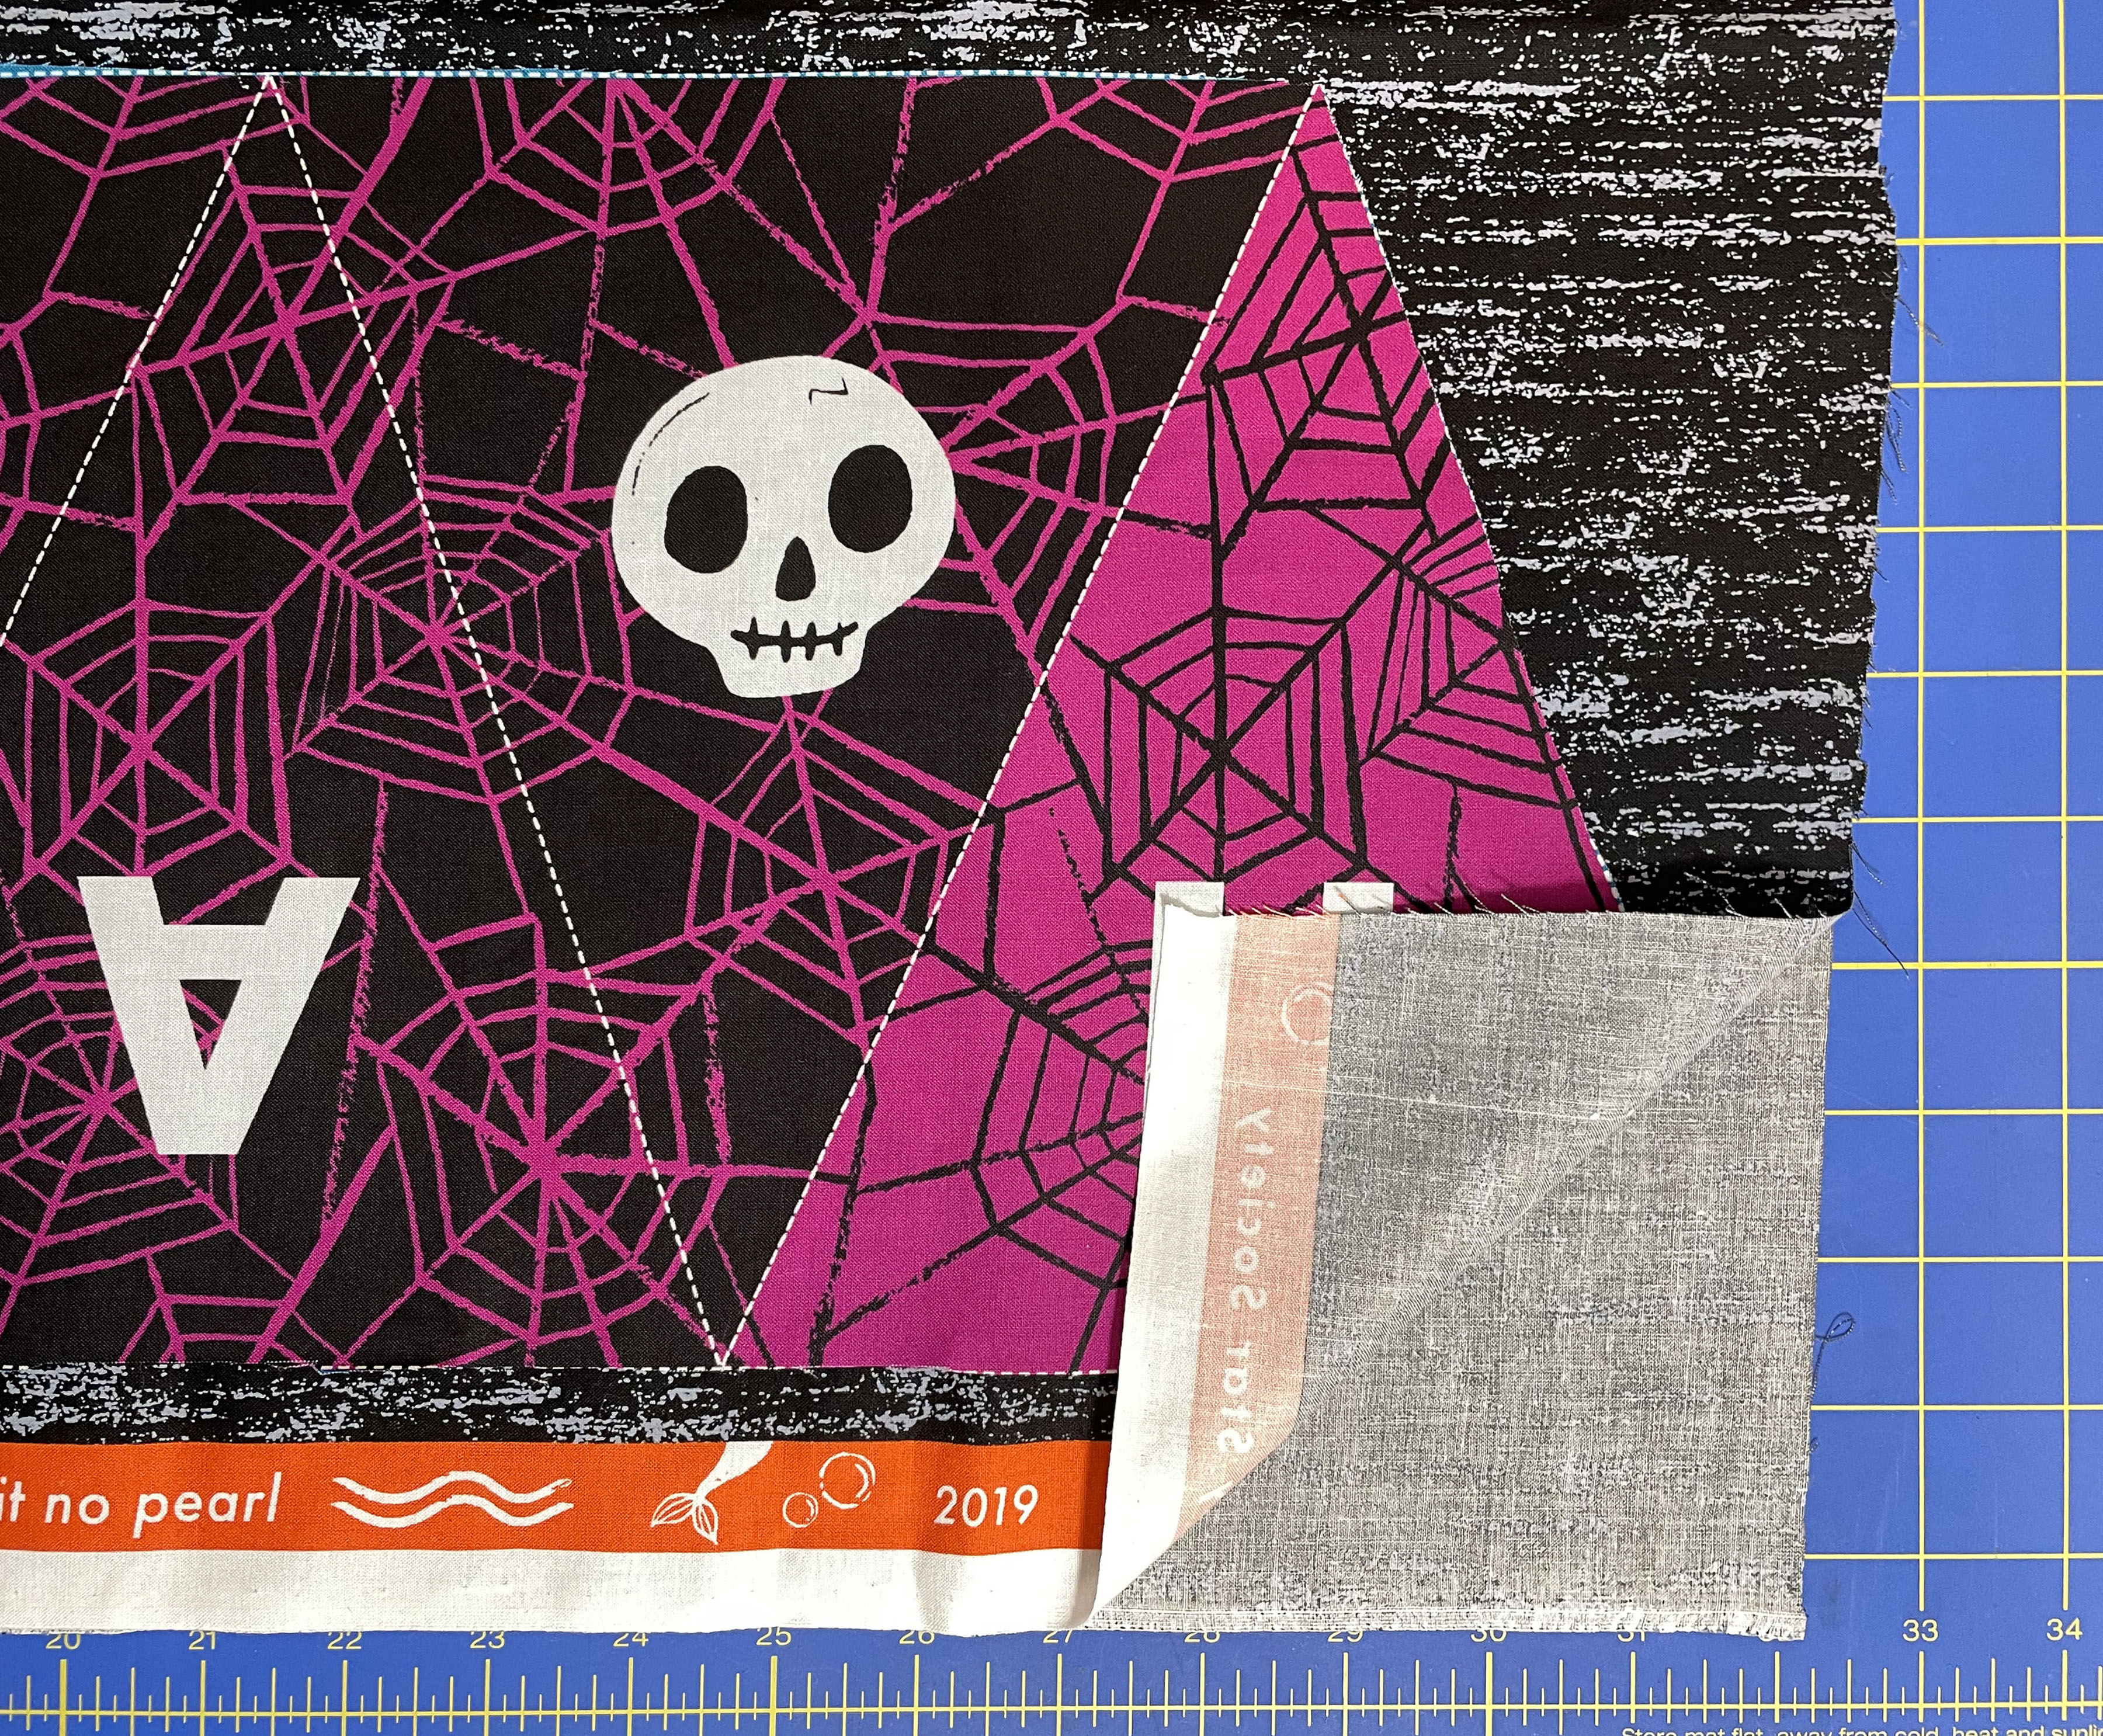
Position the pieces close to but not on top of the selvage edges and pin. Then you can cut out all three layers at the same time! And because the backing is doubled, you can get all the pieces you need (which is 17 backing triangles) done in less time. Yay! Also a quick note: if my yard of backing fabric was a little more generously cut than yours and you need to cut one or two last triangles out of the remainder, don't worry! You will still have plenty remaining to cut binding from in the next post!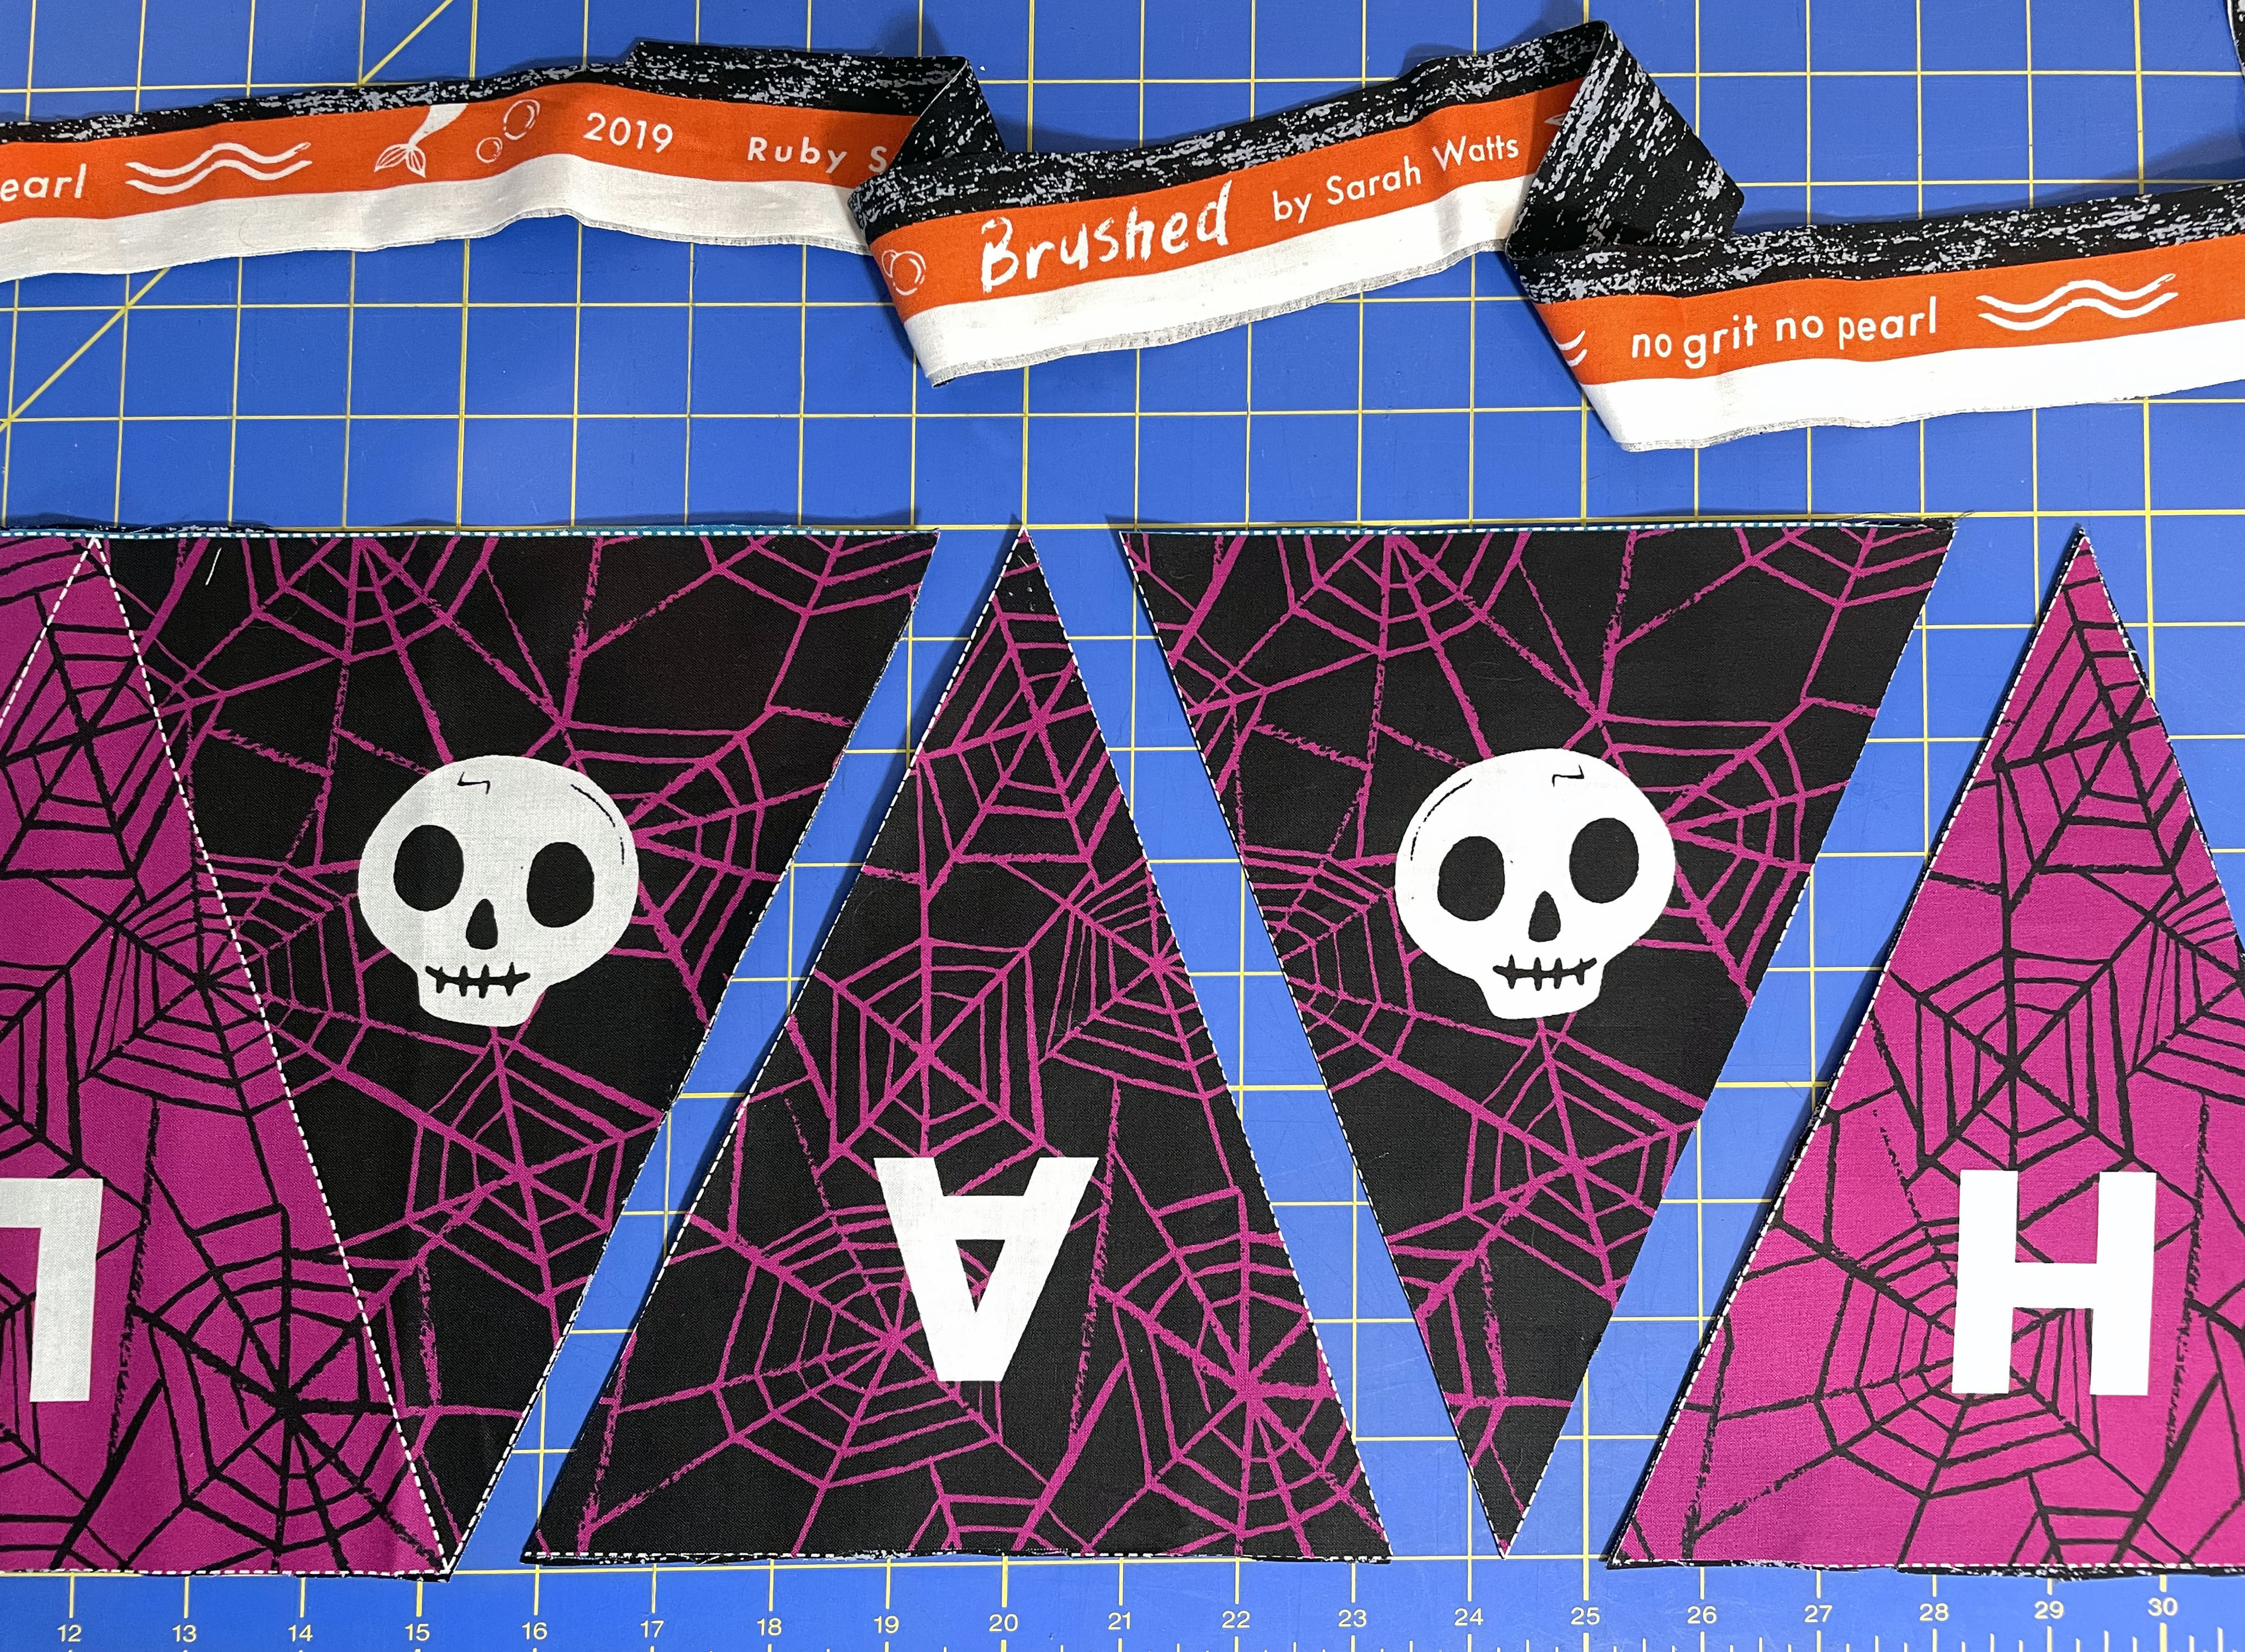
Phew! So if you're keeping score, we have 17 pennant triangles, 17 backing triangles, a Haunted House panel, a Spooky Softie panel, that fun little side strip, and the instructions! I feel like we've successfully carved this panel to bits! Make sure to put everything away safely, we're going to start sewing away in Part II!

News
Welcome to our blog. Here you will find current happenings and helpful resources. The blog is written by The Elder Cat, our resident grump who is jaded from living for over 300 years. Nonetheless, she is loved and knows many things. -Sarah Watts
Recent Posts
