
Spooky Sewalong Part IV: Pom-pom Pillows!
Guest written by Jane Youn
Welcome to our Candy Please! Spooky Sewalong Part IV: A New Hope. Oh wait that's Star Wars. I meant Part IV: Pom-pom Pillows! Today we're going to add some fun pom-pom trim to our remaining rectangle Halloween shapes and turn them into fancy pillows! You can find the Candy Please! Project Panel at fine retailers of Moda Fabrics nationwide. For today's steps we're going to need the following supplies:
- The remainder of the Cute Halloween Shapes from last week
- About a 1/2 yd coordinating fabric for backing
- Mini Pom-pom trim
- Polyester Fiber Fill
- A chopstick, crochet hook, or bodkin, anything long and skinny that you can help turn your pillows out through the gap
- Sewing Supplies! You know, scissors, thread, pins or clips, a sewing machine, all the classics.
- *Optional Pumpkin Spice Latte

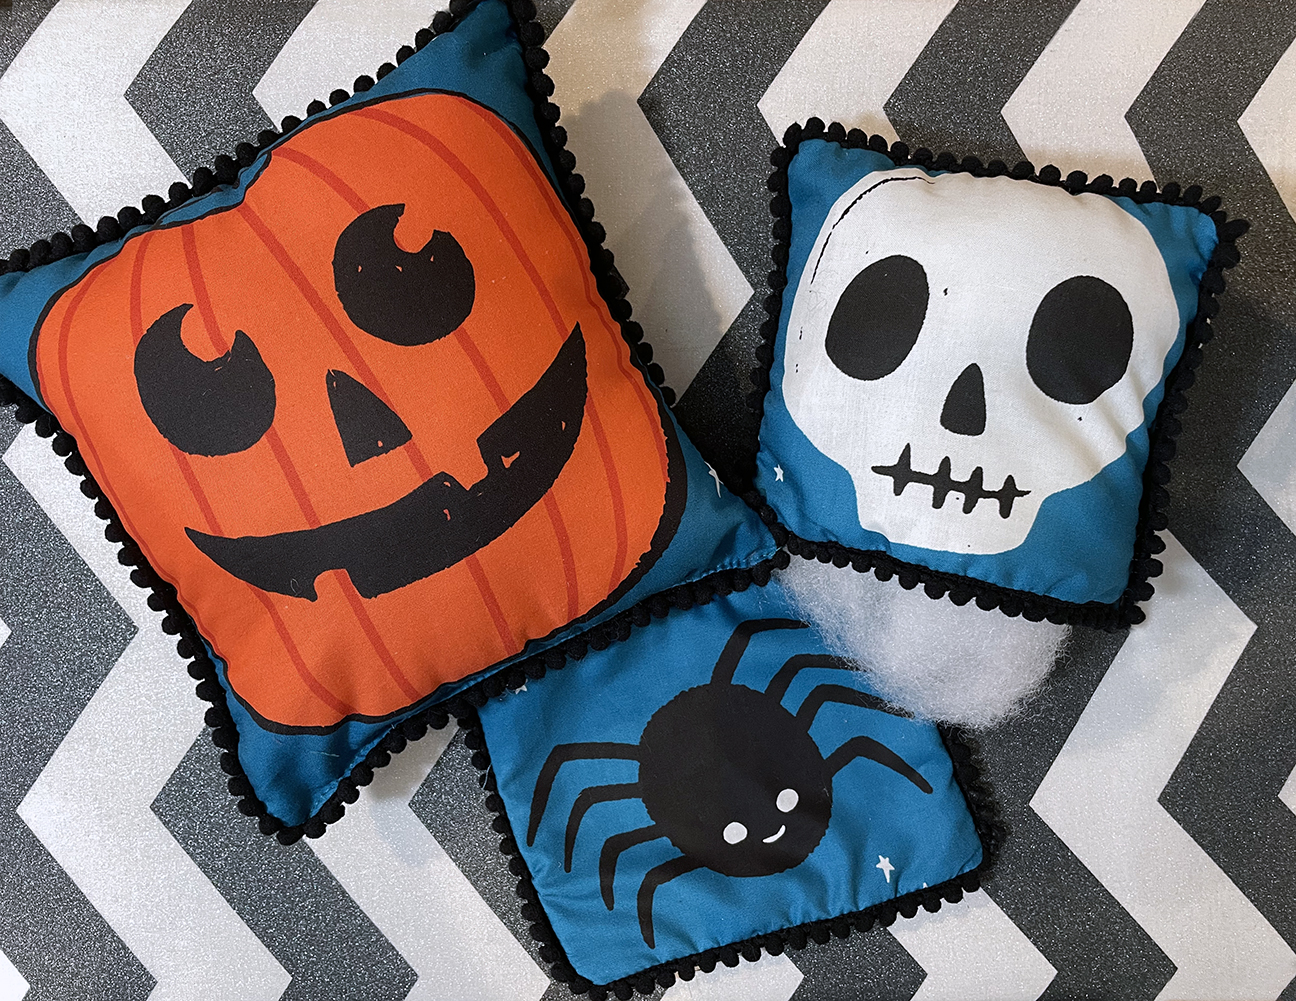
We're rolling right along today with some fun pom-pom trimmed pillows! I reserved some of the shapes from last week and today I'm trimming them into rectangular shapes. You can do this with a rotary cutter and a heavy straight edge, but be careful not to cut yourself. Cut out the main shapes (carefully!), leaving some blue background around the border. Then you can also cut out the corresponding backing pieces out by using your main rectangles as a guide. Today I have: a Pumpkin, a Bat, a Skull, and a Spider and coordinating backings using Sarah Watts' Candy Please! fat quarters.
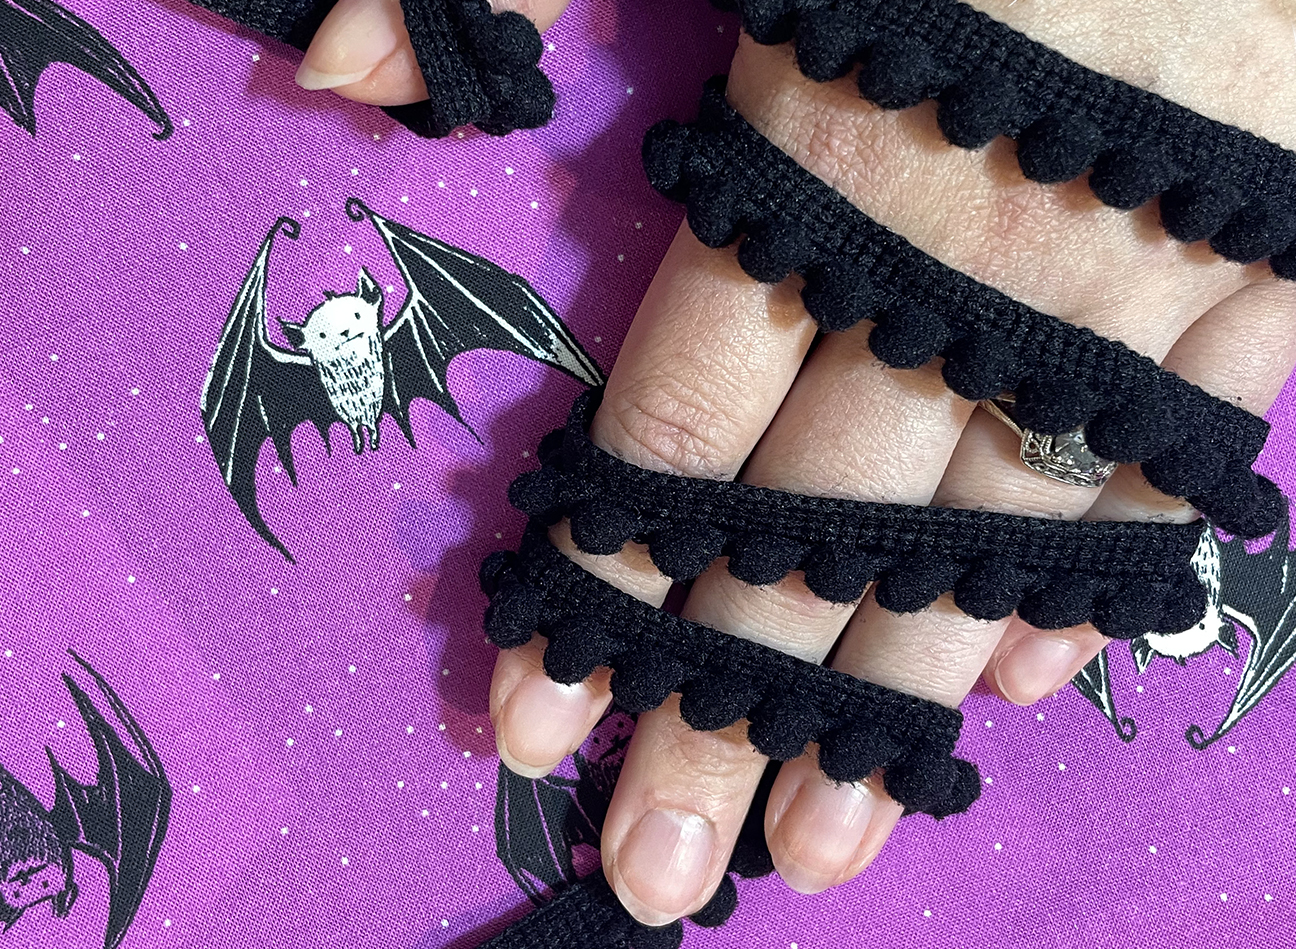
So today we're going to use this really fun pom-prom trim to gussy up those pillow edges. You can find it at most sewing and craft supply stores or online. It's really not as fiddly as it looks, I promise. It actually goes together very similarly to piping if you have experience with that. Starting at the center bottom of one of your main rectangles, line up the long edge of your trim with the raw edge of the fabric and pin or clip as you go. Make sure the pom-poms are facing in towards the center of the rectangle.

When you come to a corner, ease the trim into a 90 degree bend, and try not to pull on it too much or twist your trim. Keep pinning/clipping all the way around your rectangle. When you get back to your starting point, cut the trim with a little extra overlap. That way if anything moves while you sew down you've got some room to play around. Go ahead and baste the trim on with a 1/8" to 1/4" seam allowance. I like to use a zipper foot on my machine for this. When you get back to your starting/stopping point, butt the ends of the trim together, or even overlap them a little, and when the pillow is finished that area will be hidden!
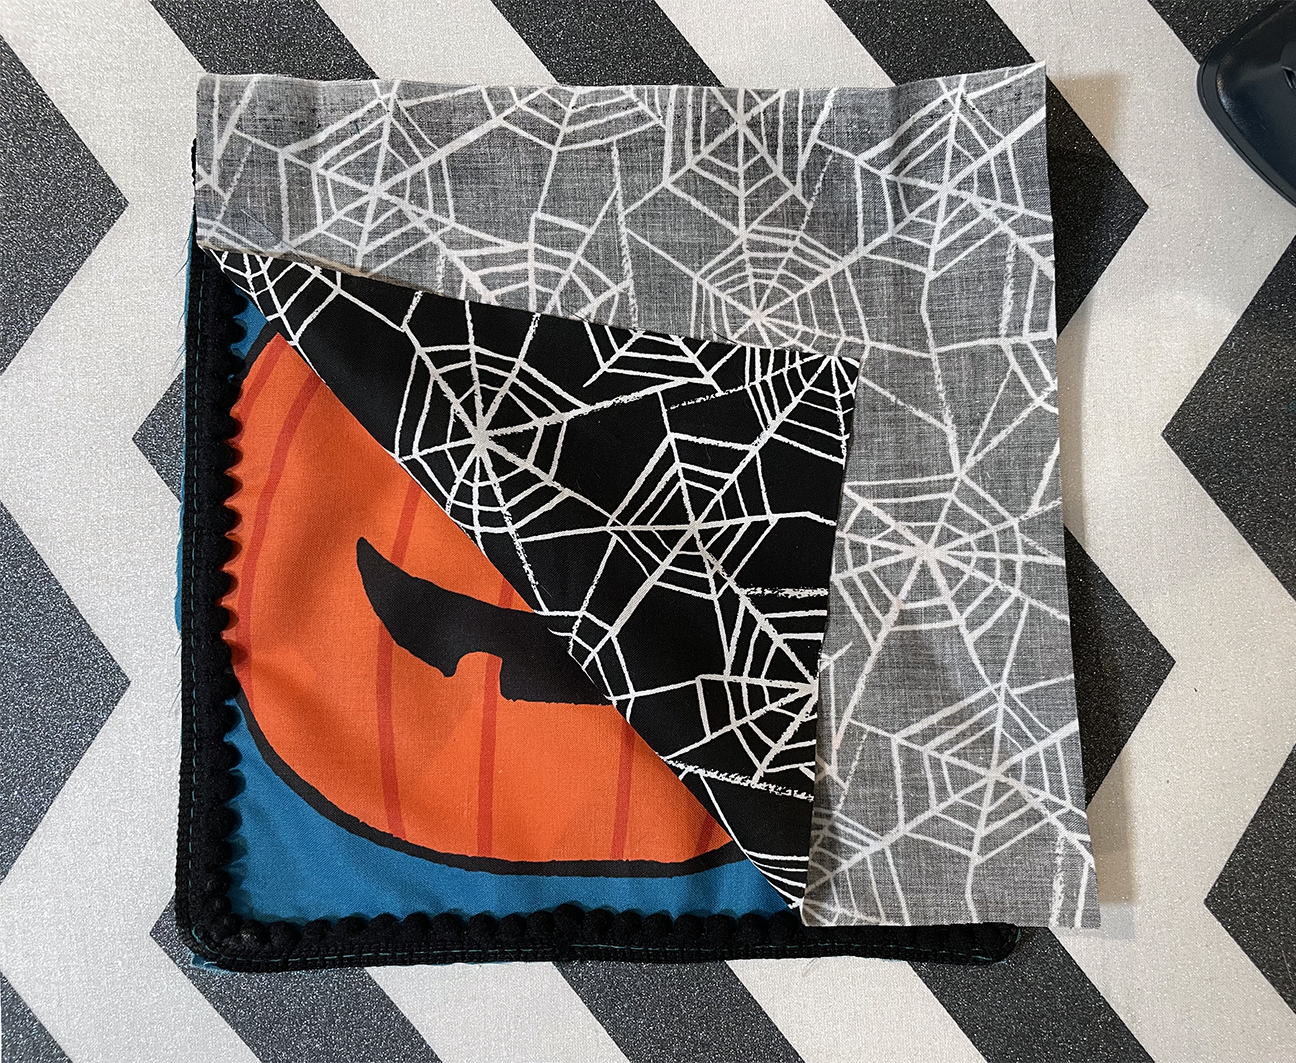
Layer your backing rectangle on top of your embellished front with right sides together. I like to leave one whole straight edge free (instead of leaving a little 3" gap like we did for the curved edges of the Spooky Softies last week). In this case I chose the whole bottom edge so it's easier to hide later. Pin or clip the three remaining edges, and then again with your zipper foot attached, stitch through the three layers of main fabric, trim edge, and backing fabric at a 1/4" seam allowance.
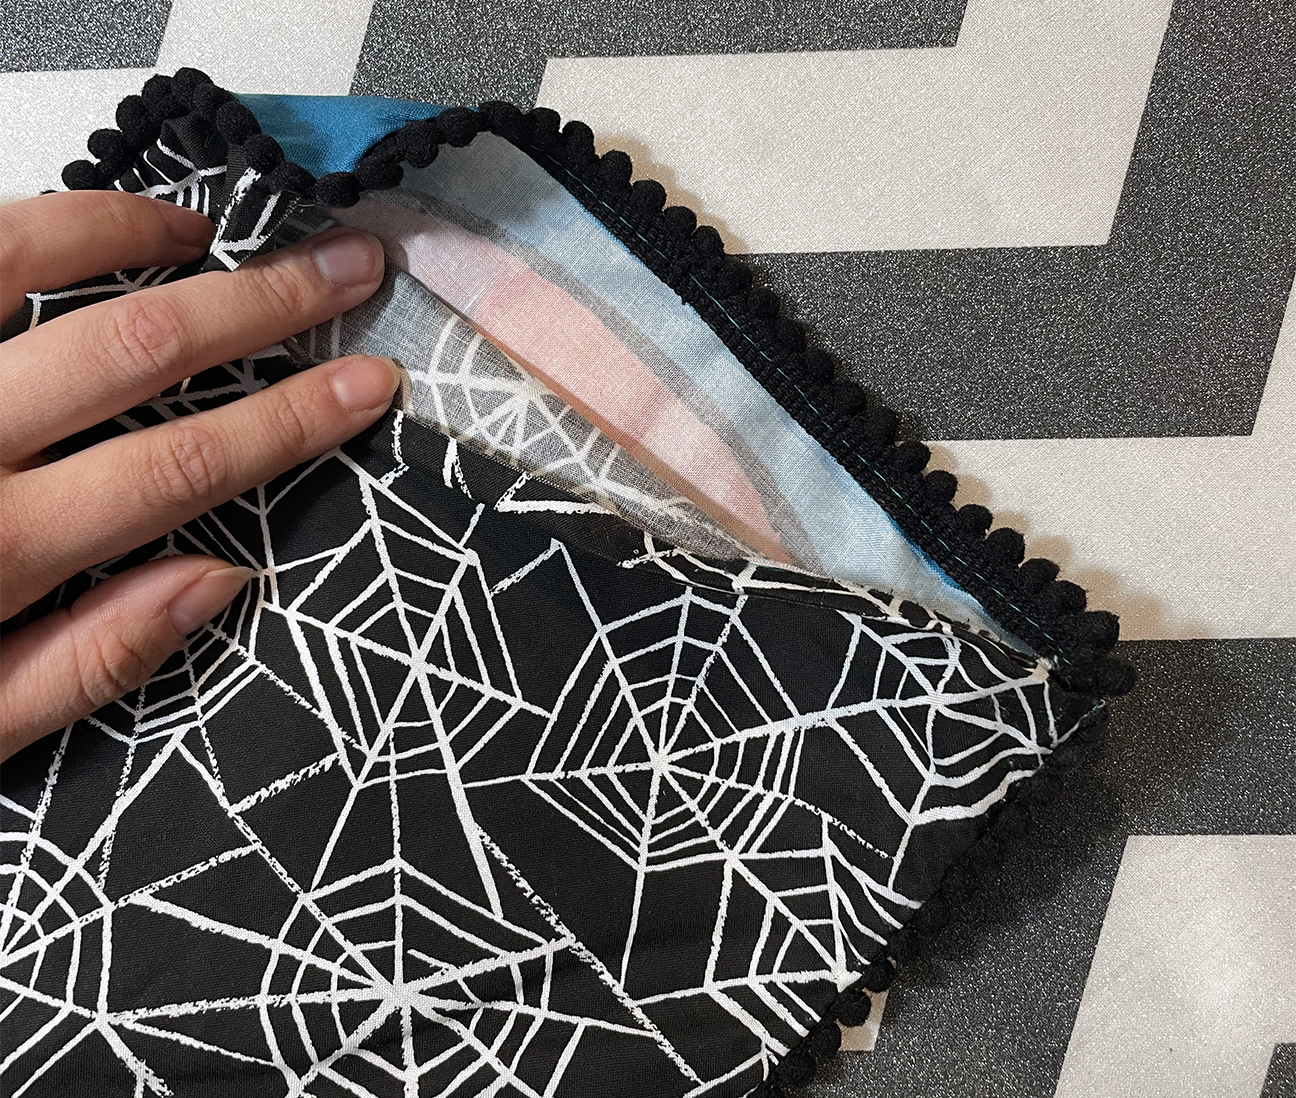
Turn your pillow through the open side and admire your work! This is also a chance to make sure all your pom-poms are laying how you like. There's no shame in going in with a seam ripper and adjusting things if you're a perfectionist like me. If everything's laying nicely, fold and press the seam allowances of the open edge in. Be careful if your trim is synthetic, you don't want to melt it!
Finally it's time to stuff the pillows! I always use more fiberfill than I'm expecting to for each one. Some fiberfill packages come with a long chopstick that you can use to help stuff any corners. I didn't do it here but for the smaller pillows, you could even stuff them with aromatics to make a small sachet. Pumpkin Spice Pillows, anyone? When you're happy with how it looks, either machine or hand stitch shut the folded gap edge that we turned through. Now your pillows are complete!
Next time in Part V, we're going to tackle the MAIN EVENT, the Happy Halloween Countdown Calendar! It's going to be terrifying! Wait- no, I mean it's going to be terrific! Wanna share your own spooky sewalong pics with us? Use the hashtag #candypleaseSAL on Instagram! Next time we’ll be tackling some extra projects! See you soon!
Jane Youn is an artist, artisan, and adjunct Professor of Sewing here at the School for Misfit Makers. She lives in the Mitten State, and loves spooky things, cats, snacks, and crafts. You can follow her @janeyouniverse on Instagram.

News
Welcome to our blog. Here you will find current happenings and helpful resources. The blog is written by The Elder Cat, our resident grump who is jaded from living for over 300 years. Nonetheless, she is loved and knows many things. -Sarah Watts
Recent Posts
