
Watch Me Tackle a Polar Bear Greeting Card

Want to see how I handled the edition of my new Weekly Challenge for 2024? I created a polar bear greeting card! Check out my video here, or read below for the step by step.
| |
First I used my iPad and it's symmetry tools to create a rough sketch of the bears and some design elements for the final card. I don't like to leave *everything* symmetrical, which gives you a nice hand-made quality in the finished product. You could do the same sketching with pencil and paper, but another bonus here for me is I was able to then use my iPad as a light table! I used the brightest setting on my iPad, and then was able to transfer my design to watercolor paper.
| |
If you're new to my list, you might not have seen one of my favorite all time watercolor tools: a water brush! You can buy these pretty much anywhere that sells art supplies. Basically you fill the base with water, and then can use it with marker pigment, India ink, or watercolors for all sorts of cool brush pen...
My Secret? You Don't Have to Do it ALL.

I frequently get asked by students and artists alike..."how do you do it all, Sarah?" And I'm all too happy to tell you...I don't! In fact, I want to pull back the curtain and take you behind the scenes today, because I think the most important advice I have for people who are starting out in this career is: you don't have to do everything alone.
I think a super relatable thing about being a professional artist is getting overwhelmed by all the invisible work out there that is necessary to run a creative business. There's all sorts of tasky-tasks that aren't immediately apparent. My business needs webspace and someone to run it. There's surface design and product deadlines for Ruby Star Society. Newsletters go out weekly. My classes need teaching support, technical support, and community support. Oh what about social media? Don't forget managing a tangled web of automation to make sure everything runs smooth-ish. And let's not even mention returning emails or accounting.
The...
Backyard is Now in Shops! Check Out My Free Tech Downloads

My latest Ruby Star Society collection, Backyard, is should now be in quilt shops! Backyard was inspired by this idea of play. I watched my children play in the backyard, and loved how vibrant their world seemed, which in turn inspired this collection full of life. This collection is full of bunnies, chickens, cardinals, and little sneaky cats, all in shades of blues and teals with red and black accents. Check your favorite quilt shops now for Backyard!
And to help celebrate Backyard hitting the shops, I made some tech wallpapers that coordinate! That's right, you can now display some featured prints from Backyard on all your devices, whether desktop, tablet, phone, or watch! And you can download them for free, for being a Sarah Watts VIP!
2023 Daily Draw With Me Challenge
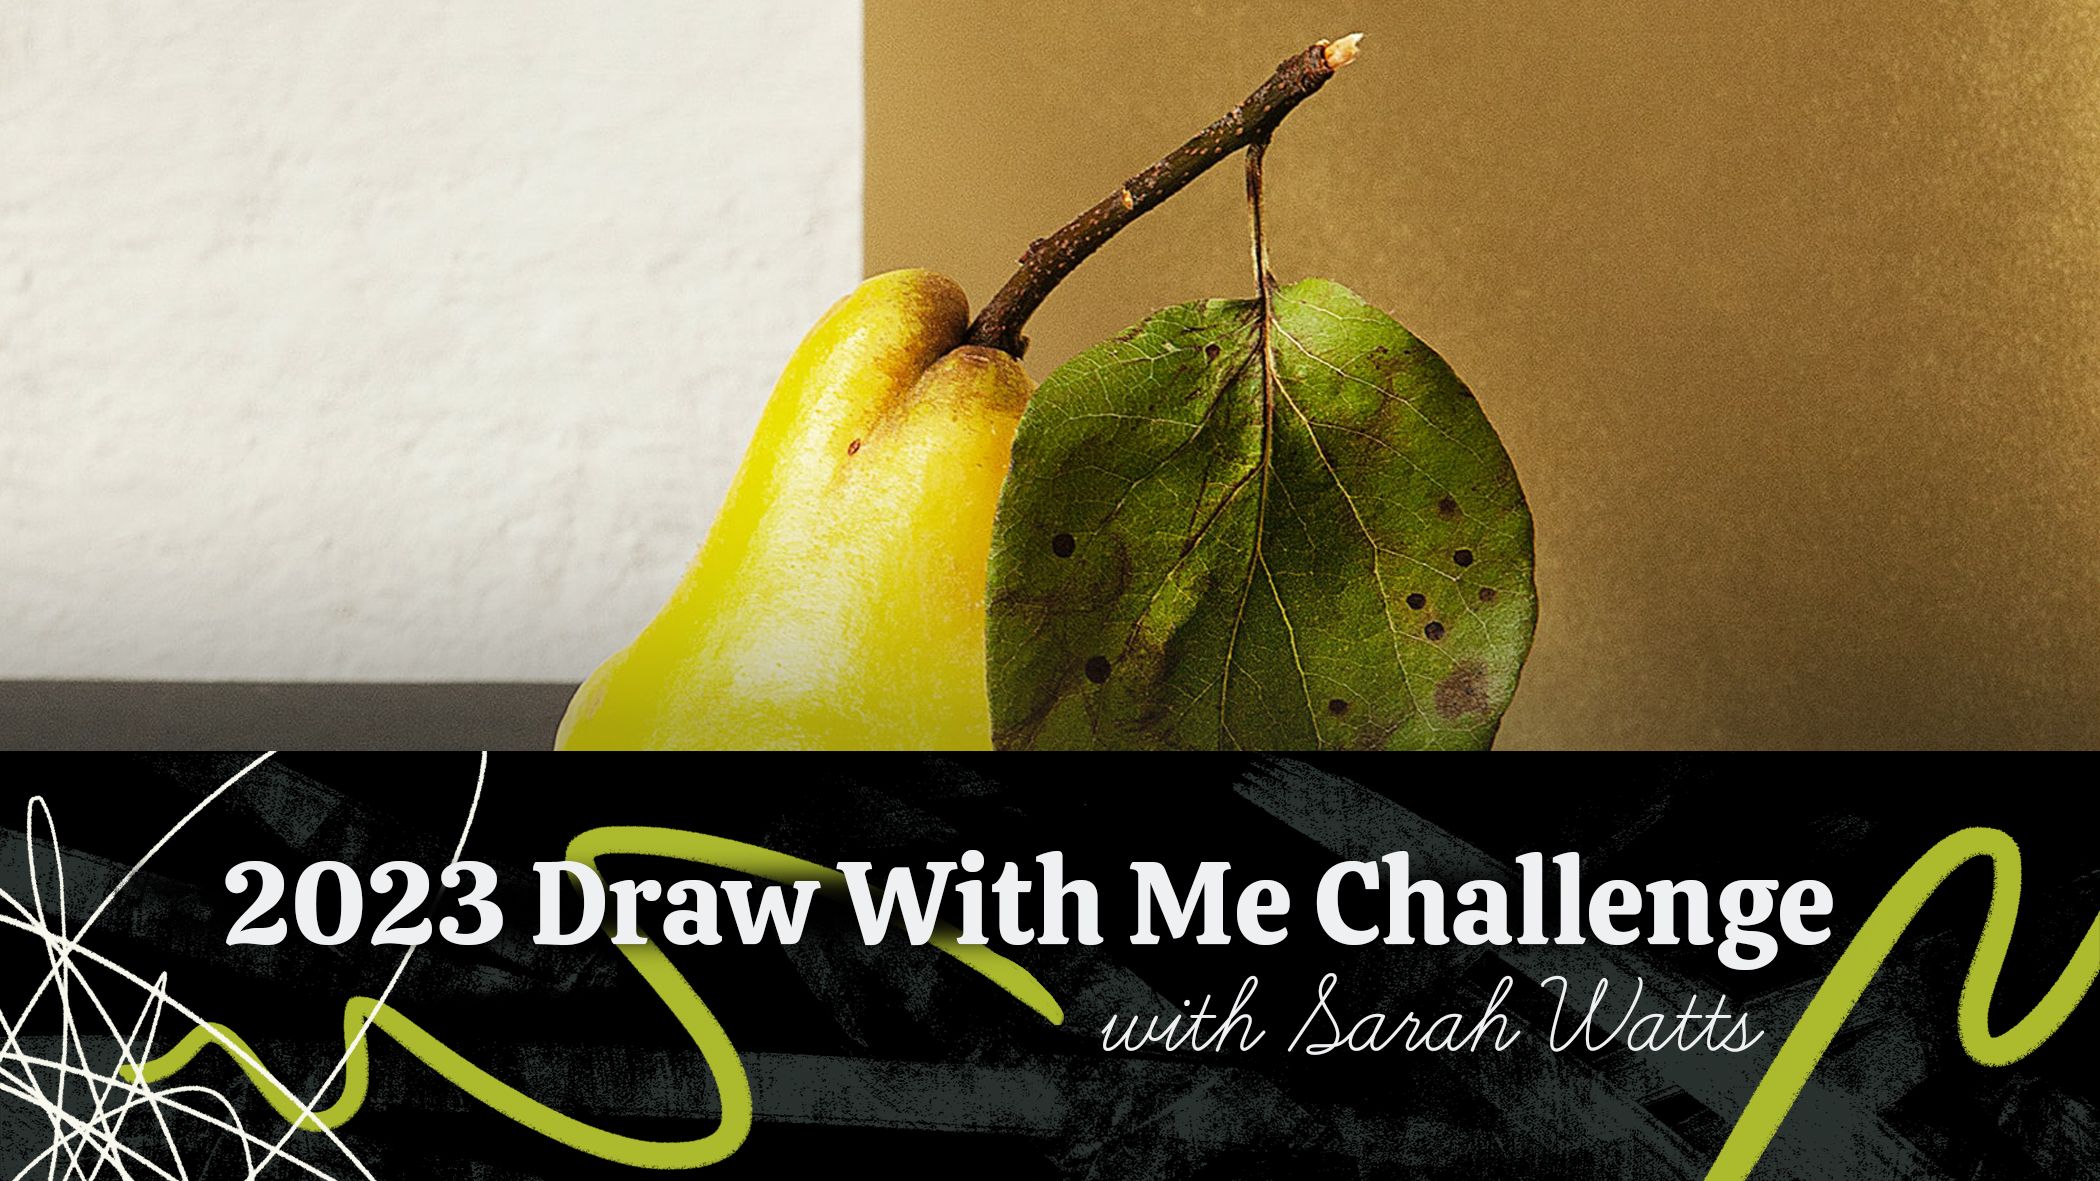
If you are anything like me, you love the IDEA of New Year Resolutions, but maybe struggle with actually keeping up with them. Honestly, a lot of it is B&$%!IT! I mean...come on, we are humans! We are imperfect! And then we hold ourselves up to impossible standards each January and then fall off the wagon by February. And yet, I still love new beginnings, fresh starts and anything that can help me start a new ritual.
Ritual. Now that feels a little more achievable.
The most helpful thing for me over the years has been to set intentions (or rituals) rather than resolutions. I want to invite you to make it your new ritual to draw every day in 2023...for at least 10 minutes. And I'm going to be there right beside you, drawing every day. I'll even provide the references each week.
While we're talking about what's achievable, I want you to allow yourself a bit of wiggle room for life. Obviously try your best to keep this daily ritual up with...
My Top 5 Drawing Supplies
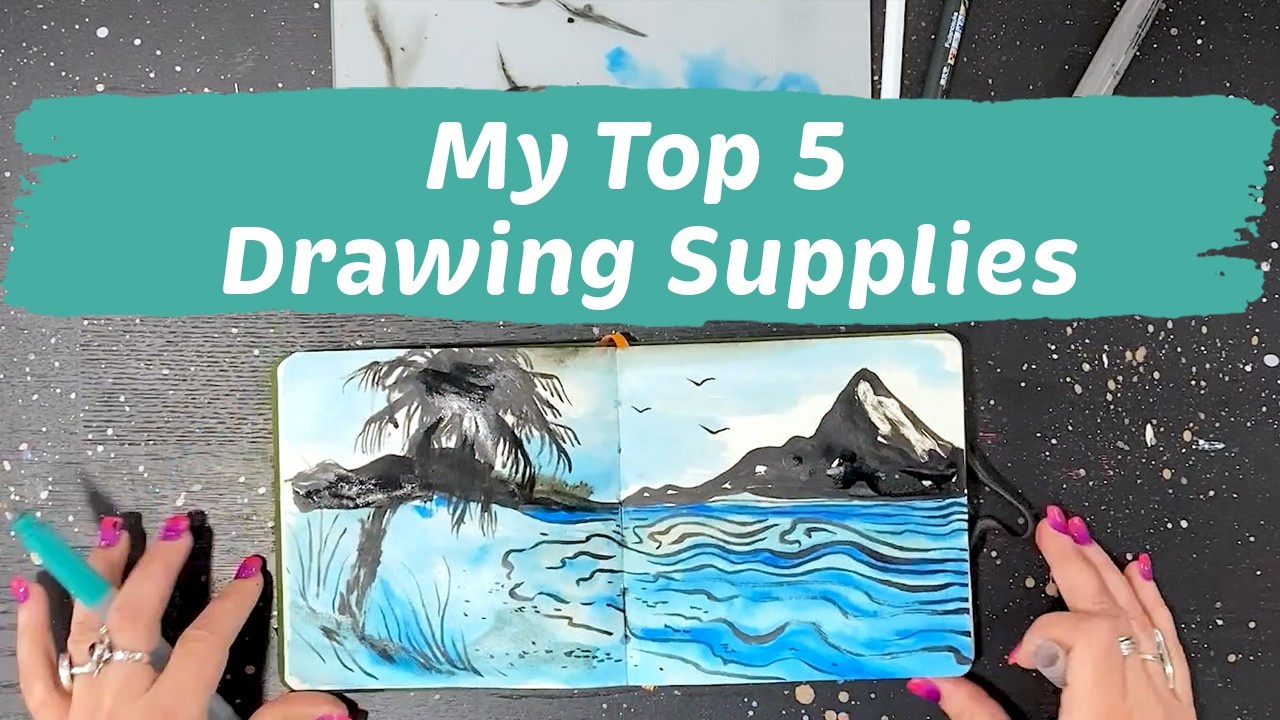
Want to check this post out as a video? Check out my Youtube Channel by clicking here!
It's so hard to choose art supplies sometimes! But what if I HAD to pick? Like what if I was stuck on a deserted island and only had five supplies to choose from? I think I've got that list covered. Plus a sketchbook, because to be honest, I'm never far from my sketchbook ever.
The Travelogue Hand Book:
This is definitely my comfort zone sketchbook. It’s perfect for so many reasons! The pages are square, but depending on how you hold your sketchbook that actually makes it very conducive to landscape or portrait spreads. The size is perfect for carrying around and not worrying about knocking into anyone or anything. Plus it has a POCKET. You could tuck found items in there for collage or even watercolor sheets for handy watercolors on the go.
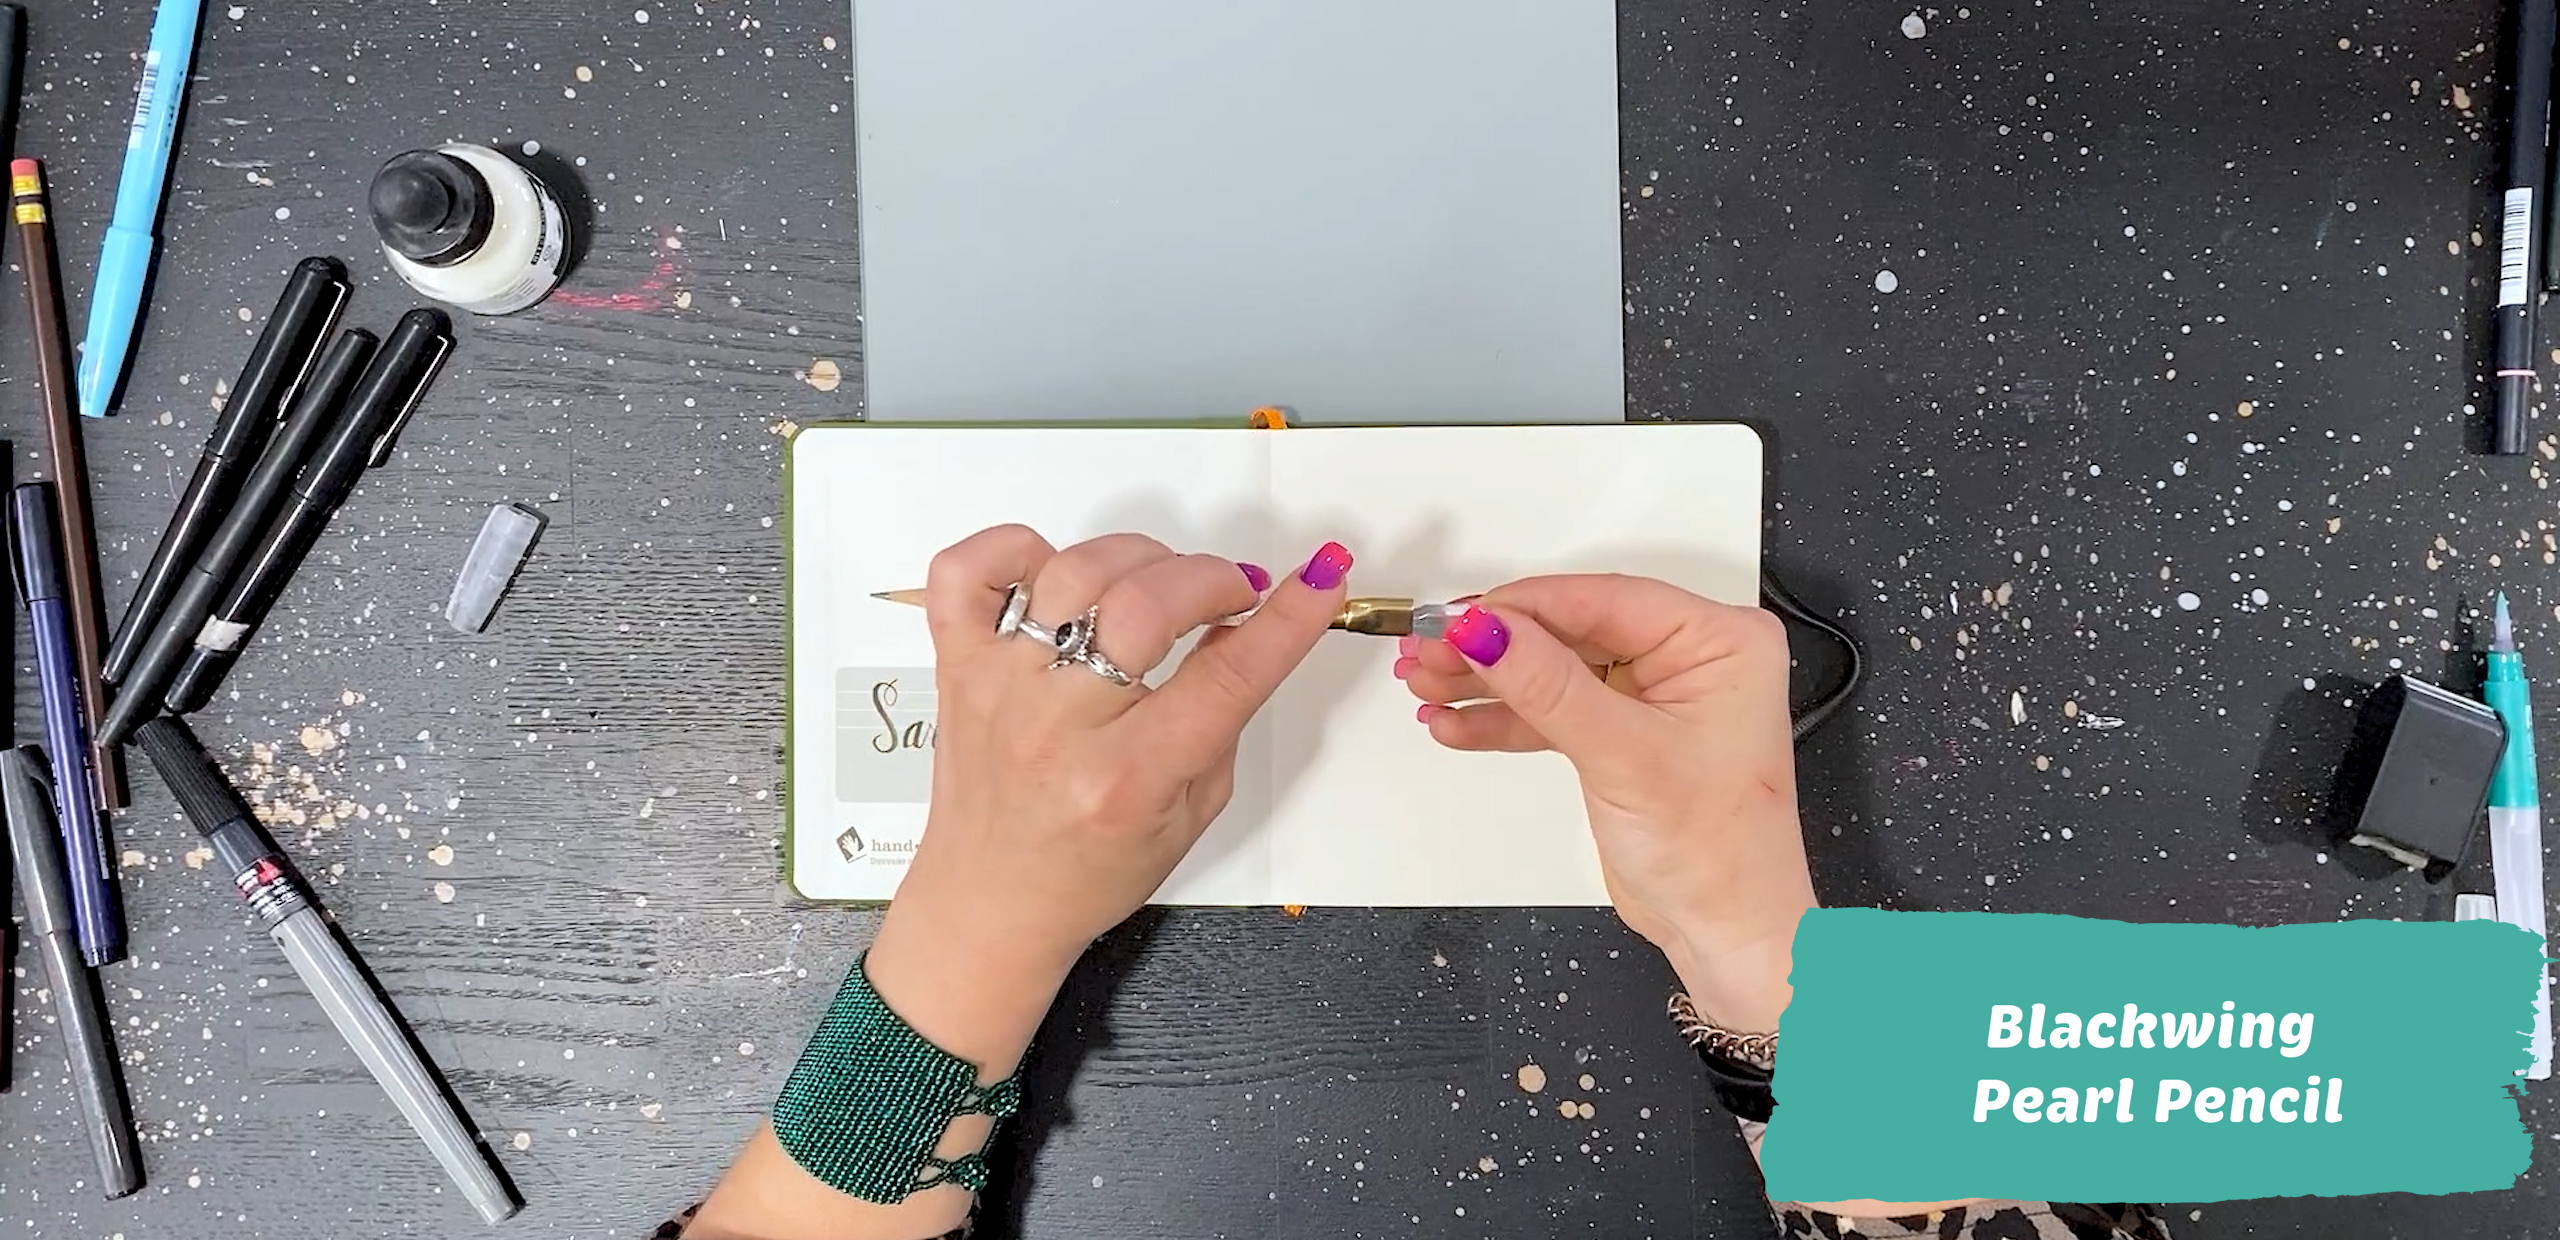
Blackwing Pearl Pencils
First off, these are beautiful pencils, and the Pearl features a softer lead, which I love for the...
3 Easy Color Palette Tricks for Artists
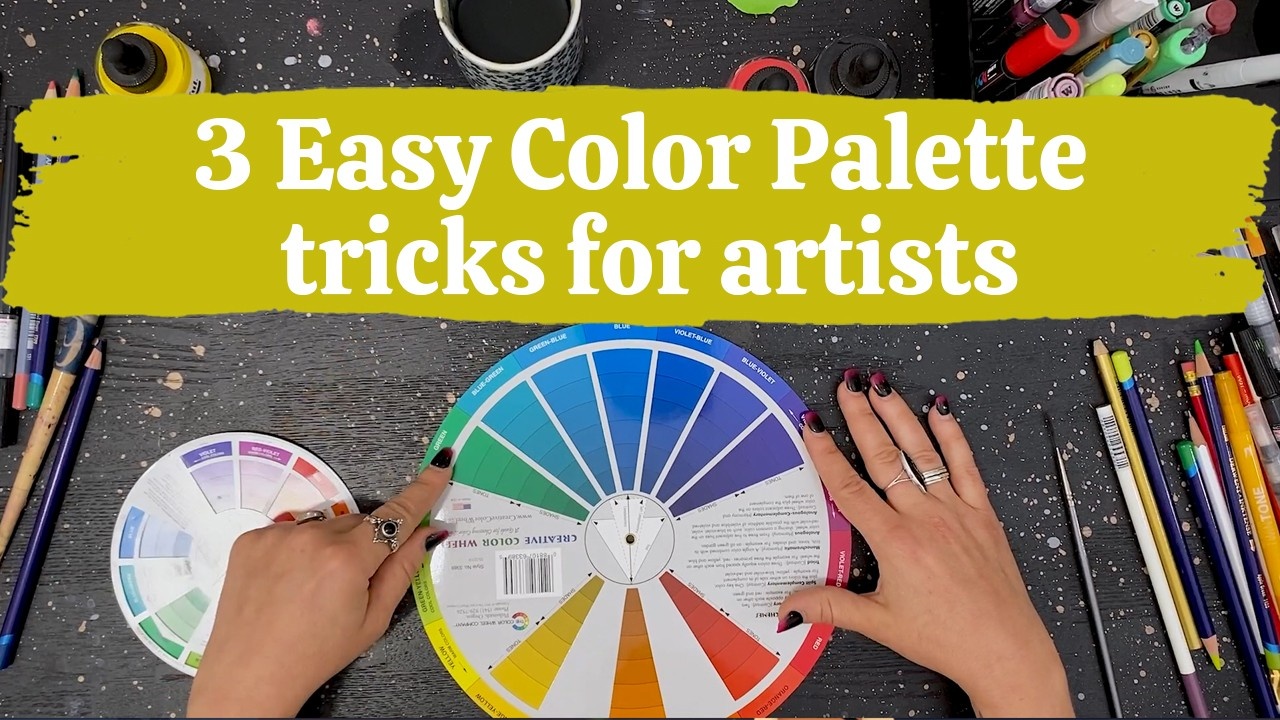
Want to check this post out on Youtube? Click HERE!
Ever want to start a project and immediately get hit by overwhelm? If you’re anything like me, you’re like “Oh my gosh, there are way too many colors to use.” And then I just shut down. I’m like “I don’t even know which one to use. It’s not fun anymore. I don’t want to make any art.” Well I don’t know about you, I hate feeling like that, so I have some tricks I use for quickly picking out color for art and sewing projects!
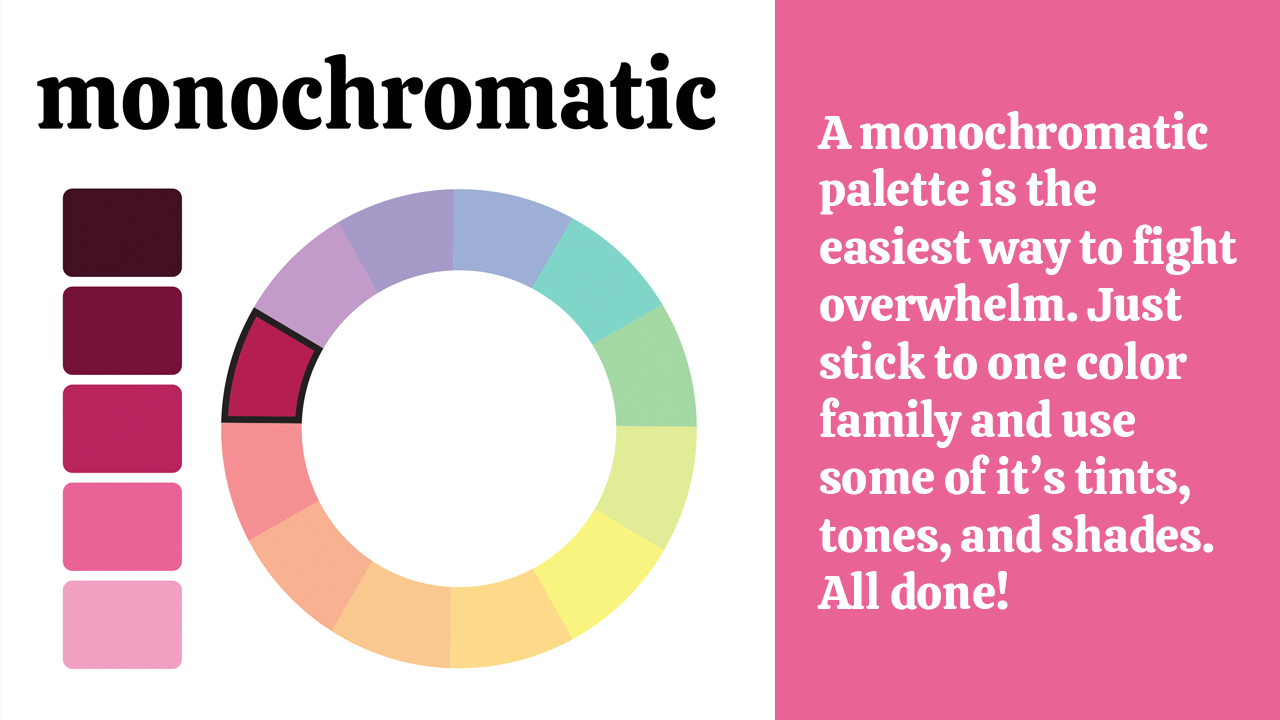
First: The easiest way to fight overwhelm and keep things really simple is to stick with a monochromatic palette. Monochromatic literally means one color. Using your color wheel, you can identify which color family you’d like to use, and then select your colors from the whole color range of tints, tones, and shades! (If those sound like new terms to you, a tint is a color with white added to it, a tone is a color with gray added...
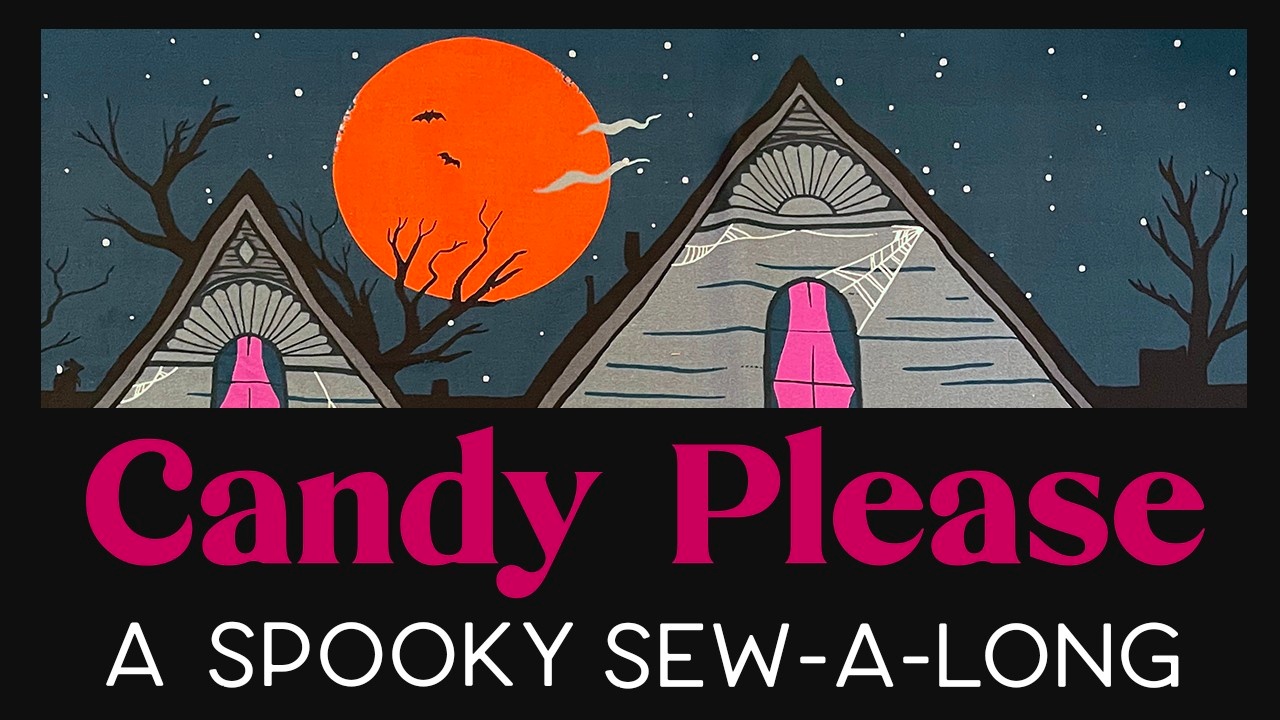
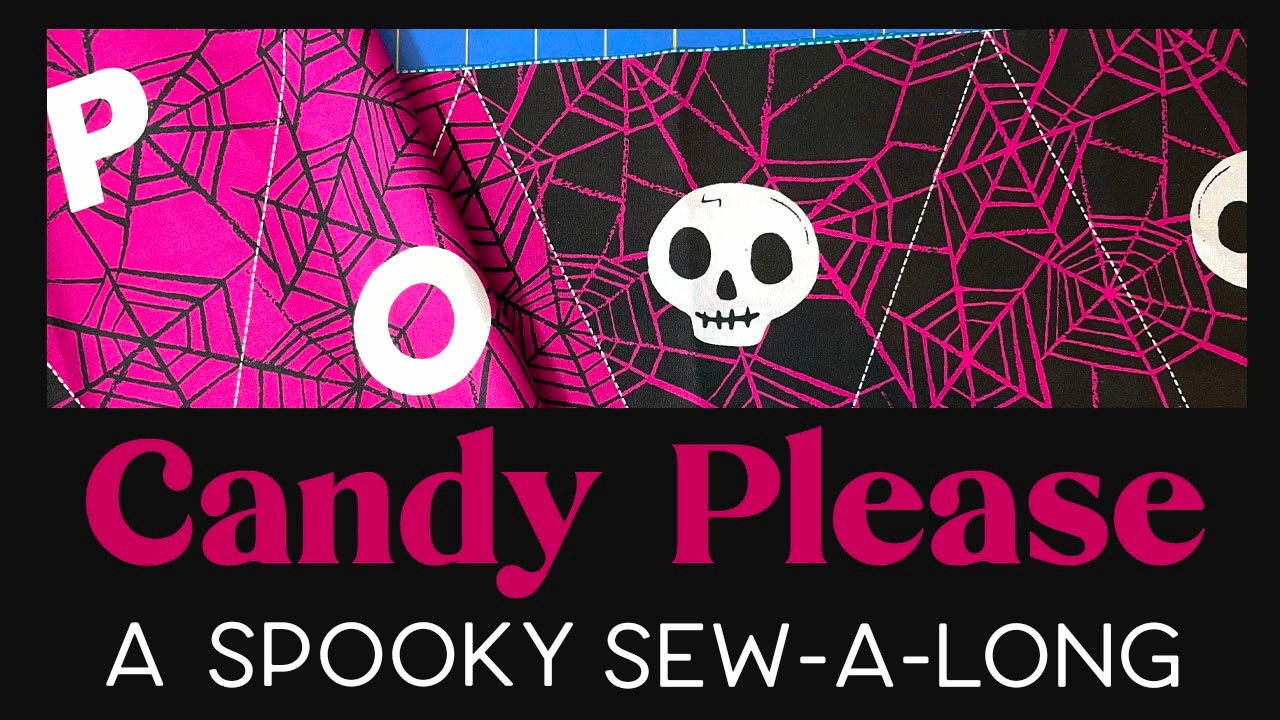
Spooky Sewalong Part V: The Final Chapter
Guest written by Jane Youn
Welcome to our Candy Please! Spooky Sewalong Part V: The Final Chapter. That's right, it's the MAIN EVENT. Today, we are going to sew up up the Countdown Calendar, so you can fill it with prizes and have fun counting down the days to the best hallow-day ever, HALLOWEEN! You can find the Candy Please! Project Panel at fine retailers of Moda Fabrics nationwide. For today's steps we're going to need the following supplies:
- The Countdown Calendar section of the Candy Please Panel
- About a yard of coordinating fabric for backing
- About half a yard of coordinating fabric for binding
- OR Premade Doublefold Bias Tape
- About a yard of quilt batting. I used Warm and Natural but it doesn't have to be that heavy.
- Sewing Supplies! You know, scissors, thread, pins or clips, a sewing machine, all the classics.
- A snack of your choice. Today I'm eating candy corn.

So this week might seem haunting and daunting if you haven't had a lot of...
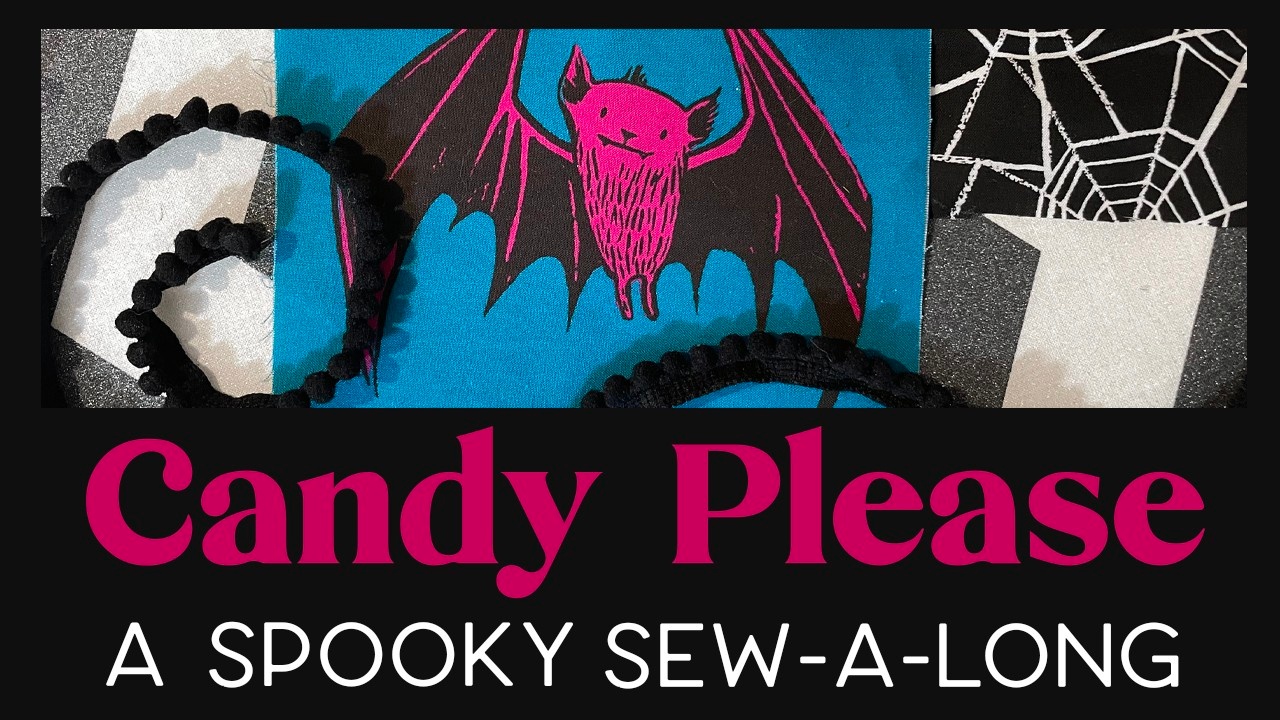
Spooky Sewalong Part IV: Pom-pom Pillows!
Guest written by Jane Youn
Welcome to our Candy Please! Spooky Sewalong Part IV: A New Hope. Oh wait that's Star Wars. I meant Part IV: Pom-pom Pillows! Today we're going to add some fun pom-pom trim to our remaining rectangle Halloween shapes and turn them into fancy pillows! You can find the Candy Please! Project Panel at fine retailers of Moda Fabrics nationwide. For today's steps we're going to need the following supplies:
- The remainder of the Cute Halloween Shapes from last week
- About a 1/2 yd coordinating fabric for backing
- Mini Pom-pom trim
- Polyester Fiber Fill
- A chopstick, crochet hook, or bodkin, anything long and skinny that you can help turn your pillows out through the gap
- Sewing Supplies! You know, scissors, thread, pins or clips, a sewing machine, all the classics.
- *Optional Pumpkin Spice Latte

We're rolling right along today with some fun pom-pom trimmed pillows! I reserved some of the shapes from last week and...
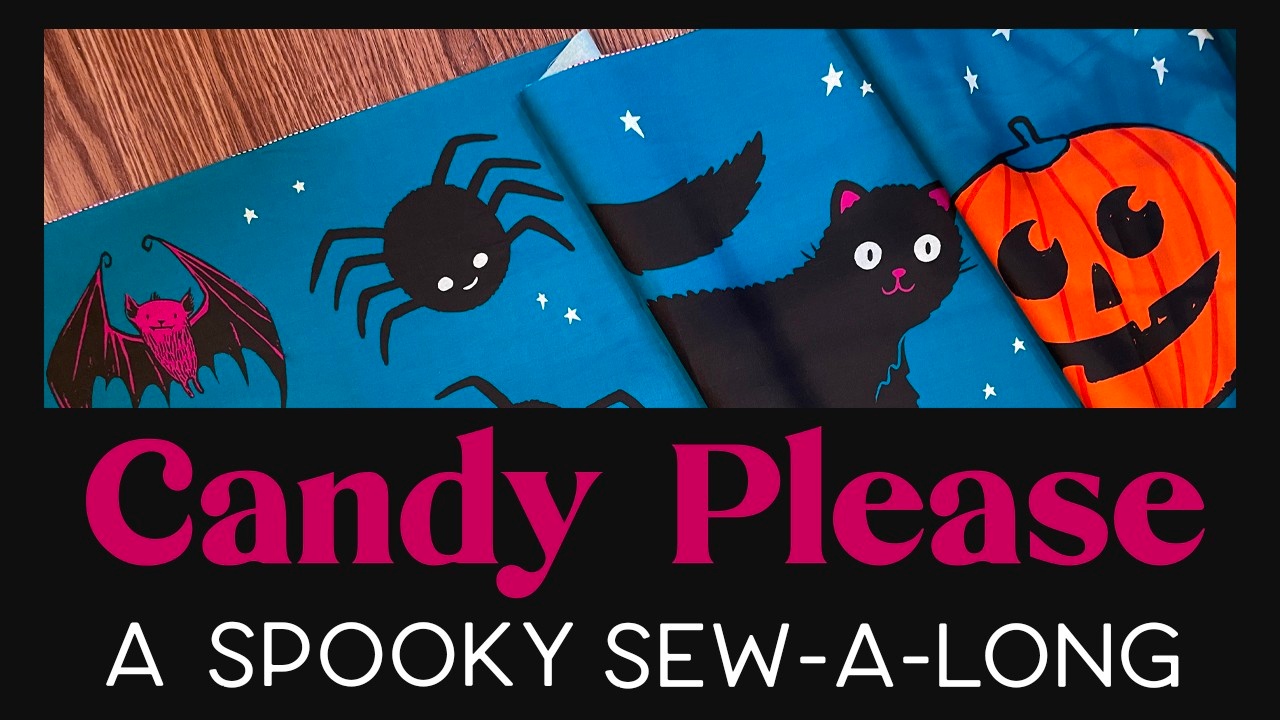
Spooky Sewalong Part III: Spooooky Softies
Guest written by Jane Youn
Welcome to our Candy Please! Spooky Sewalong Part III: Spoooky Softies. We are going to have a great time sewing up some curvy swerve-y pillow pals today! You can find the Candy Please! Project Panel at fine retailers of Moda Fabrics nationwide. For today's steps we're going to need the following supplies:
- The strip of Cute Halloween Shapes
- About a 1/2 yd coordinating fabric for backing
- Polyester Fiber Fill
- A chopstick, crochet hook, or bodkin, anything long and skinny that you can help turn your softies out through the gap
- Sewing Supplies! You know, scissors, thread, pins or clips, a sewing machine, all the classics.
- Jelly beans for fortitude
So in Part I, we carved up the whole Candy Please! panel. Today we're going to use about half of the long strip of cute Halloween shapes. We'll use the other half next week for pillows! For this project I really want to highlight all of those cute, curvy shapes. But we don't...
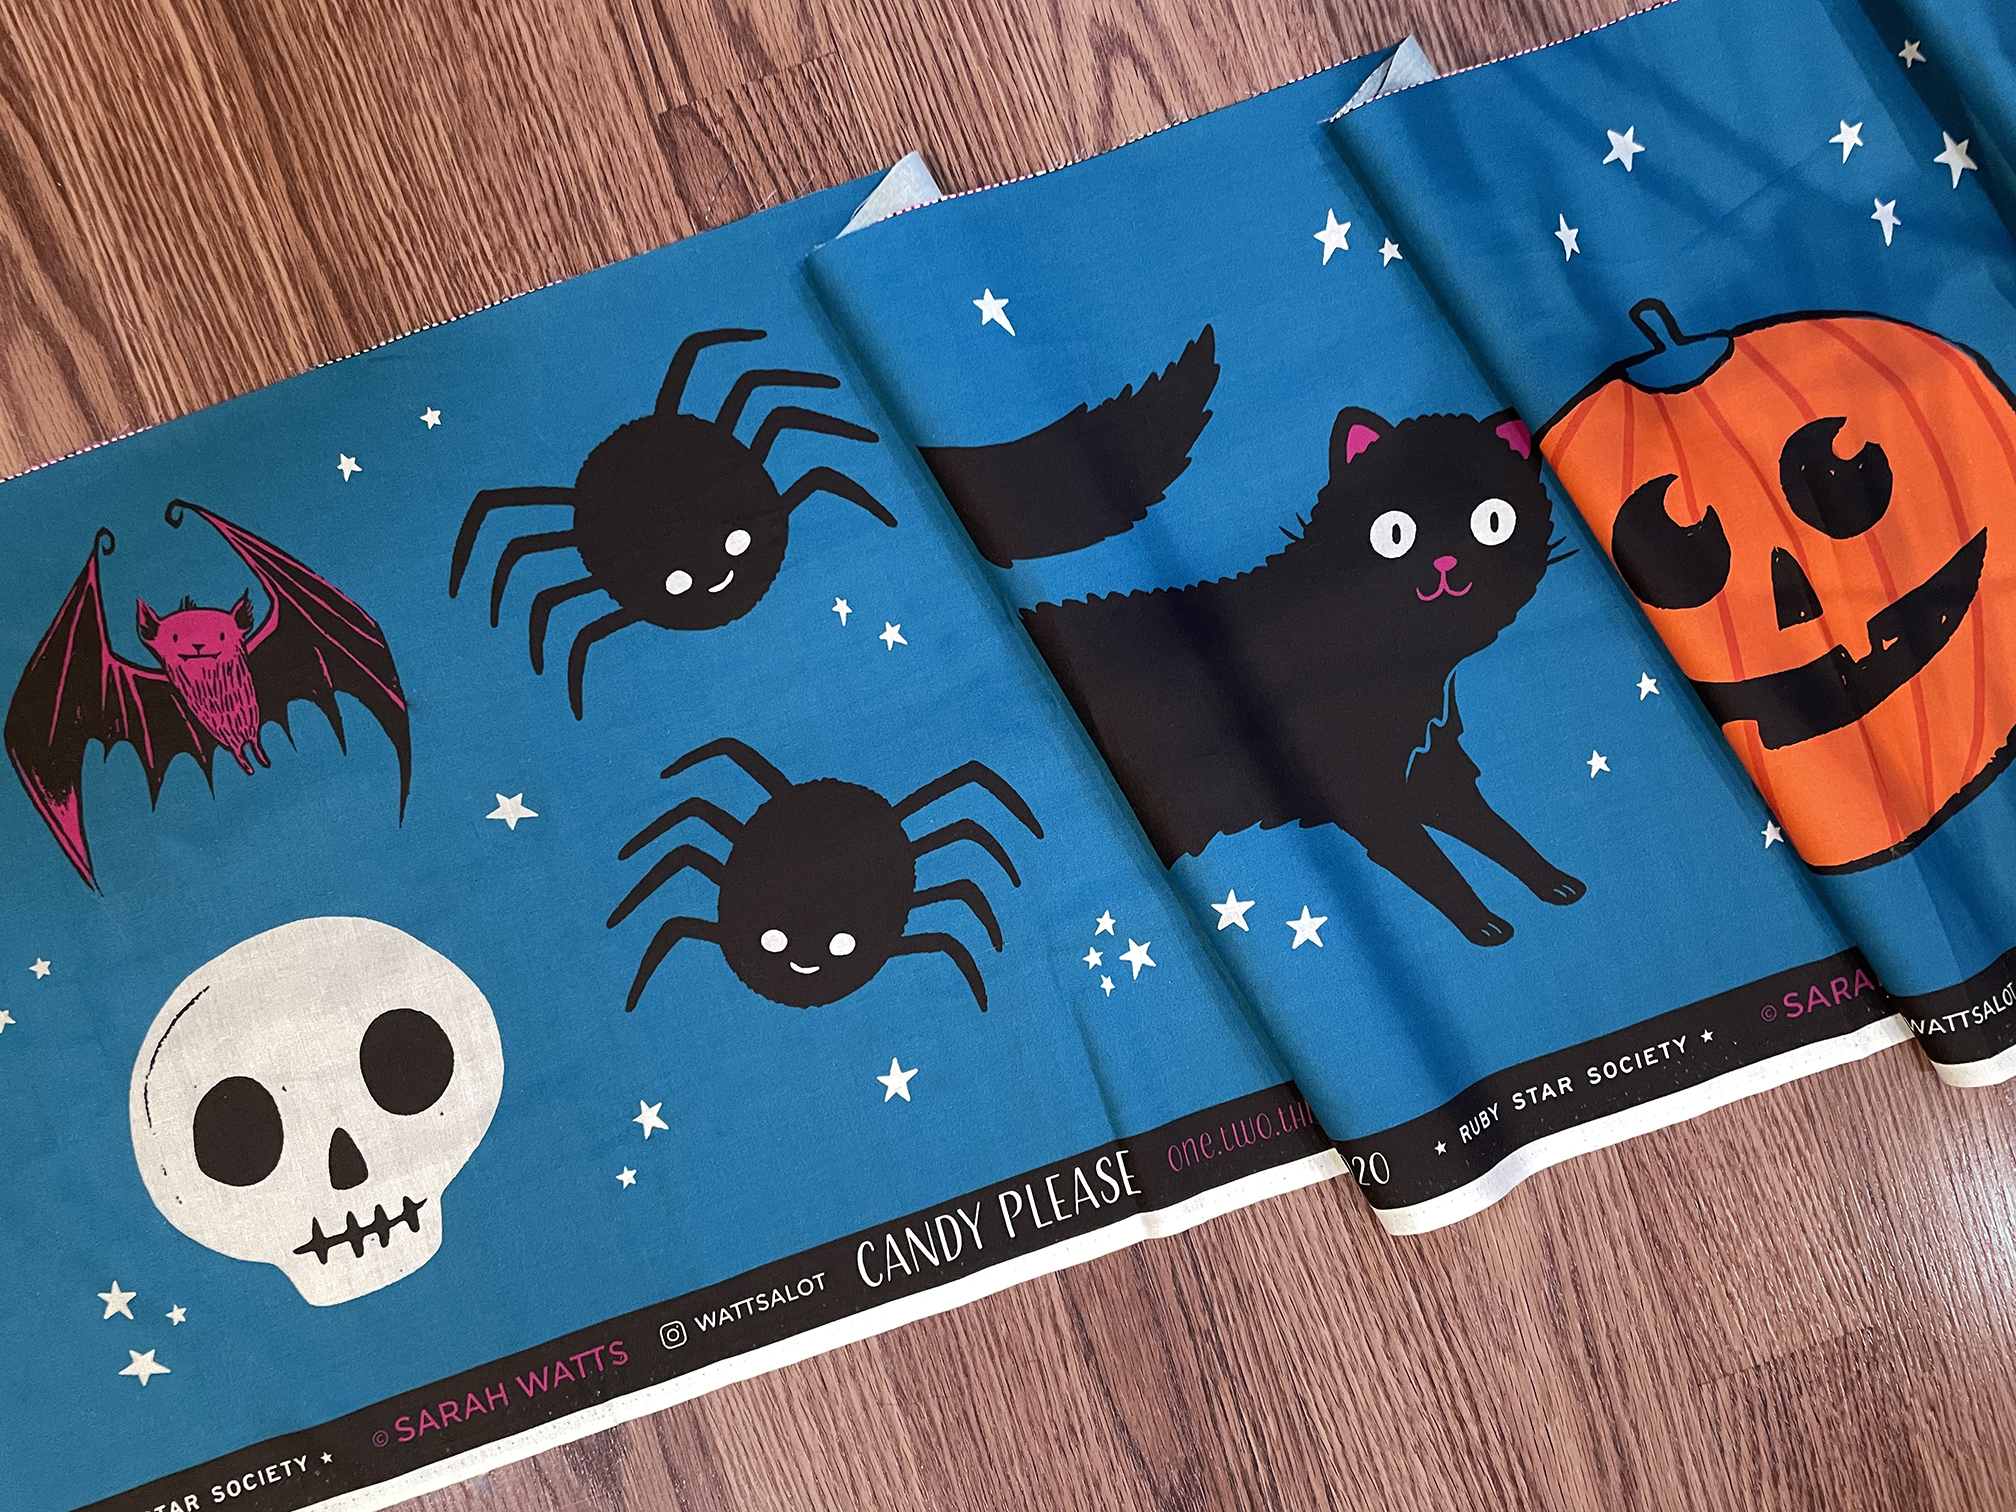
Spooky Sewalong Part II: Happy Halloween Bunting!
Guest written by Jane Youn
Welcome to our Candy Please! Spooky Sewalong Part II: The Bunting-ning. Okay I'm obviously still working on that title. Anyway, we are going to have a great time sewing up the Happy Halloween Bunting today! You can find the Candy Please! Project Panel at fine retailers of Moda Fabrics nationwide. For today's steps we're going to need the following supplies:
- The 17x Pennant Triangles and their corresponding backing pieces that we cut out last time
- About a 1/2 yd coordinating fabric for binding
- A 25mm Bias Tape Maker
- OR Premade Doublefold Bias Tape for Bunting
- Sewing Supplies! You know, scissors, thread, pins or clips, a sewing machine, all the classics.
- A snack of your choice
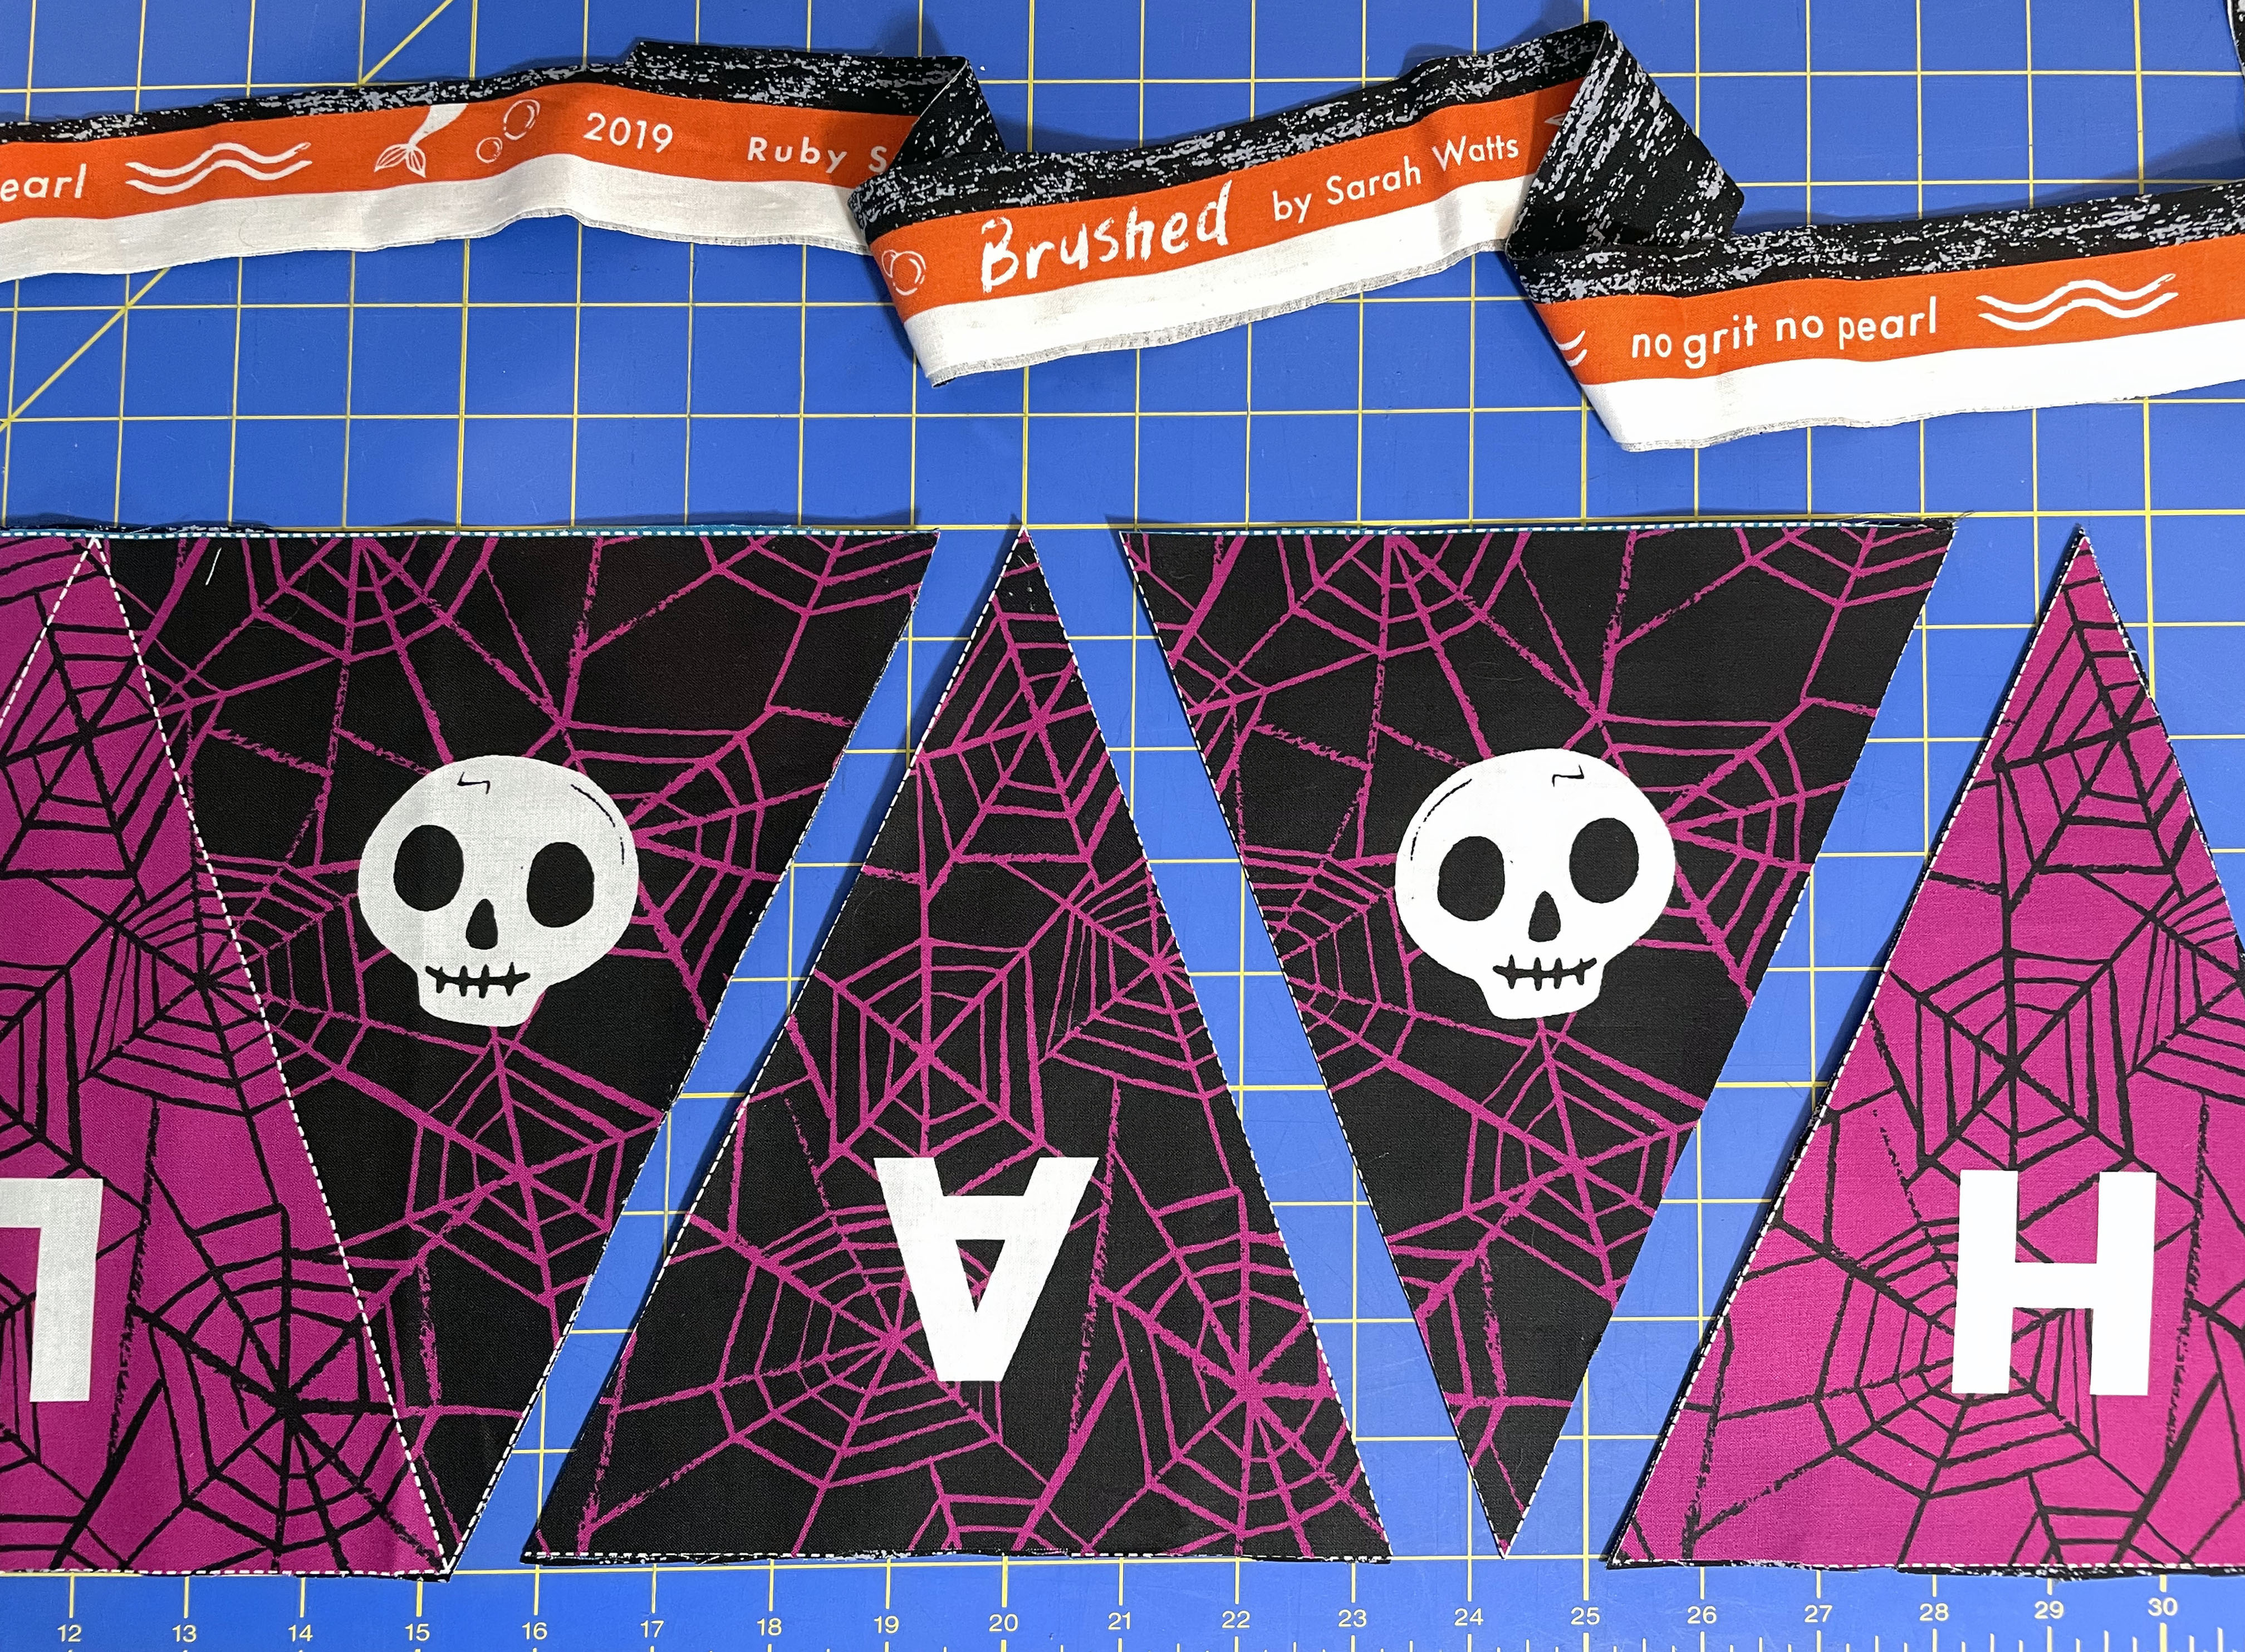
So last week we left off at cutting out our 17 pennant triangles and our 17 backing triangles. Next, we're going to sew them up! Take one triangle and one backing piece and place them right sides together (RST). With a ¼” seam allowance, stitch...

News
Welcome to our blog. Here you will find current happenings and helpful resources. The blog is written by The Elder Cat, our resident grump who is jaded from living for over 300 years. Nonetheless, she is loved and knows many things. -Sarah Watts
Recent Posts
